ChangeDetection is a program that tracks changes to web page content. Home Lab users will find this handy to alert when there is a new version of a self-hosted software package. In addition, it can track price changes and in stock status for retail product offerings.
ChangeDetection is a Github project you can read about here.
I track mostly software versioning and product pricing using ChangeDetection.
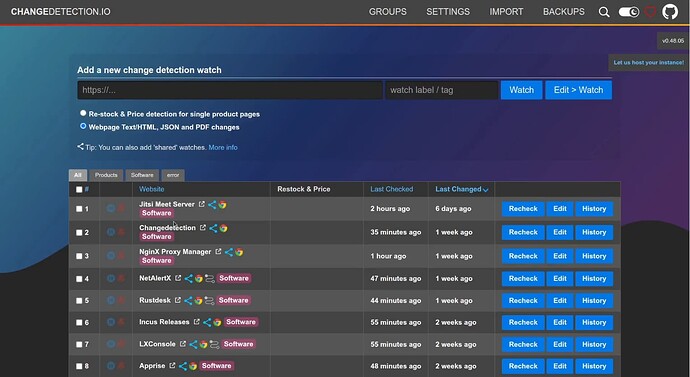
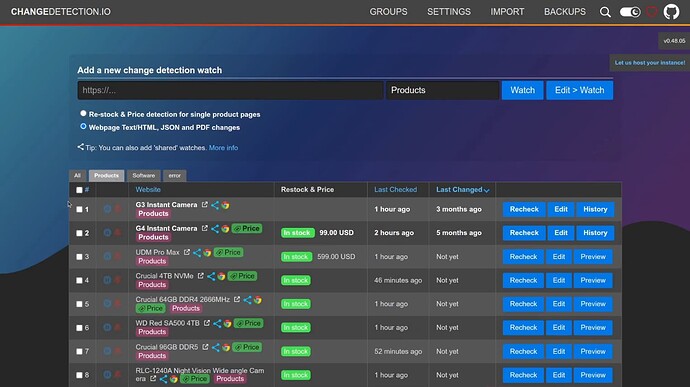
The program allows you to create categories for the websites that you are tracking. I have all of my websites I am monitoring classified as either “Software” or “Products”. You could create many more categories if you see the need.
My “Products” category watches pricing and availability for products I am watching.
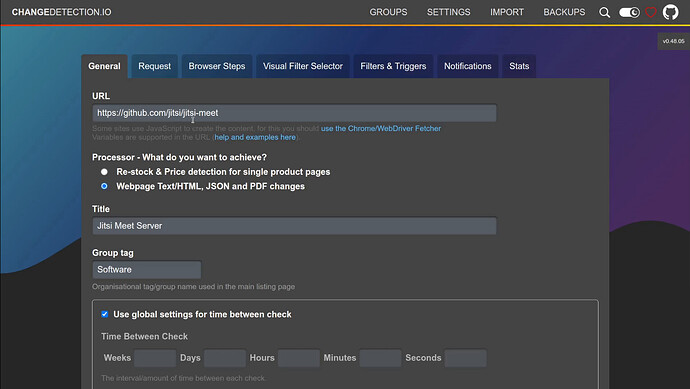
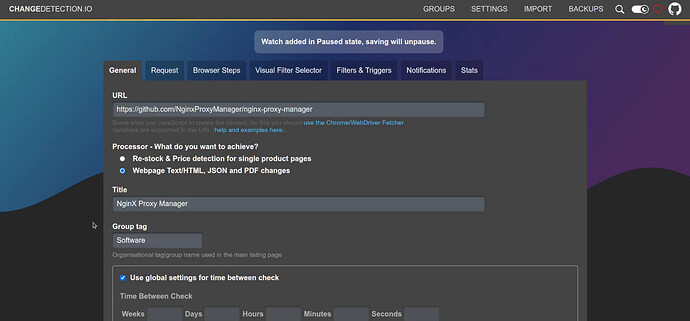
Adding a site to monitor entails adding the URL, optionally providing a title/name and also providing a tag (Software/Products in my case).
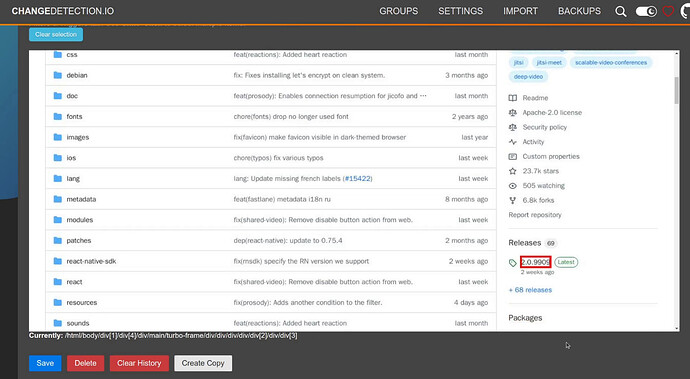
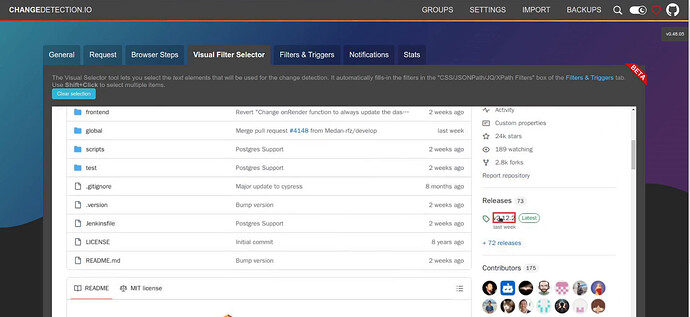
The easy way to monitor a website is to go to the “Visual Filter Selector” for a website that you have defined and to click a field on the screen. In the example below, I am watching the version number for the Jitsi Meet server on the Github project site for when there is a new version.
To setup ChangeDetection, I create an incus container in which to host the ChangeDetection docker application. If you are unfamiliar with incus, go watch my tutorial entitled Incus Containers Step by Step:
incus launch images:ubuntu/24.04 ChangeDetection -p default -p bridgeprofile -c boot.autostart=true -c security.nesting=true
Connect to the container:
incus shell ChangeDetection
Take all of the current updates:
apt update && apt upgrade -y
Install some dependencies.
apt install curl openssh-server net-tools nano -y
Install docker since ChangeDetection is a docker application:
curl -sSL https://get.docker.com | sh
Add yourself a user account and place the account in the sudo and docker groups.
adduser scott
usermod -aG sudo scott
usermod -aG docker scott
Move over to your user account.
su - scott
Create a folder for the application and move inside of it.
mkdir changedetection
cd changedetection
Find the address of the eth0 device of your container.
ifconfig
Create the docker compose file.
nano docker-compose.yml
Paste the following into the nano editor session being sure to change the BASE_URL to be the address you found for eth0 above.
services:
  changedetection:
    image: ghcr.io/dgtlmoon/changedetection.io:latest
    container_name: changedetection
    hostname: changedetection
    volumes:
      - ./data/datastore:/datastore
    ports:
      - 80:5000
    environment:
      - PLAYWRIGHT_DRIVER_URL=ws://playwright-chrome:3000
      - BASE_URL=http://192.168.1.76 # configure this for your own server address

    depends_on:
      playwright-chrome:
        condition: service_started
    restart: unless-stopped

  playwright-chrome:
    hostname: playwright-chrome
    image: dgtlmoon/sockpuppetbrowser:latest
    restart: unless-stopped
    environment:
      - SCREEN_WIDTH=1920
      - SCREEN_HEIGHT=1024
      - SCREEN_DEPTH=16
      - ENABLE_DEBUGGER=false
      - PREBOOT_CHROME=true
      - CONNECTION_TIMEOUT=600000
      - MAX_CONCURRENT_SESSIONS=10
      - CHROME_REFRESH_TIME=600000
      - DEFAULT_BLOCK_ADS=true
      - DEFAULT_STEALTH=true
      - DEFAULT_IGNORE_HTTPS_ERRORS=true
Once you have changed your BASE_URL address accordingly, do a CTRL O and enter to write the file out and a CTRL X to exit the nano editor.
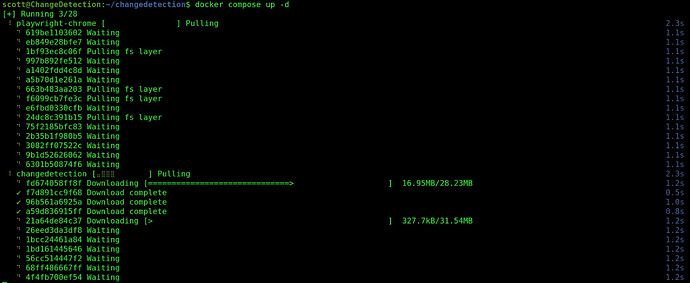
Launch the application:
docker compose up -d
At this point, head up to your web browser and visit the BASE_URL address you entered.
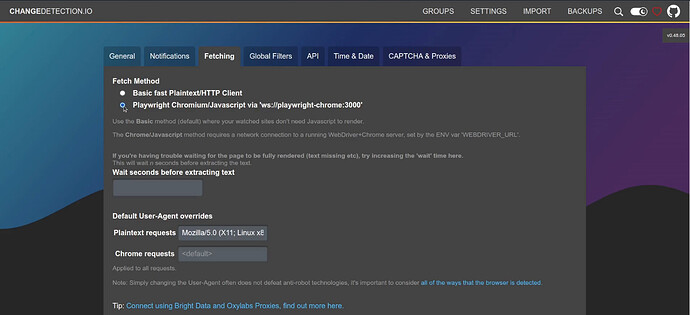
Head over to the “settings” screen and to the “Fetching” tab. Be sure to change the “Fetch Method” to “Playwright Chromium/Javascript via ‘ws://playwright-chrome:3000’” as shown below.
Be sure to scroll to the bottom of the same screen and click “Save”.
In my tutorial entitled Home Lab Network Monitoring I covered NetAlertX, Apprise and Gotify.
Gotify is a very simple, yet powerful notifcation tool that you can use with ChangeDetection to notify you when changes are detected at your defined websites.
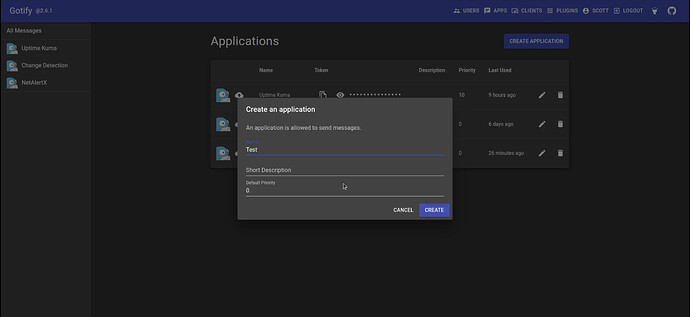
I headed over to my gotify installation and I created a new application (API) for ChangeDetection which I called “Test” since I already have one for my production instance.
Next I copy the API token for “Test” to use it in my ChangeDetection notification URL.
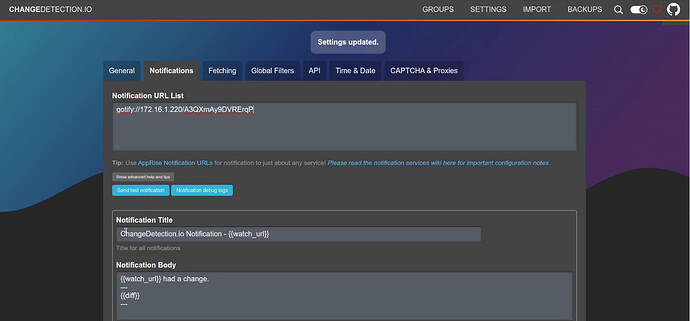
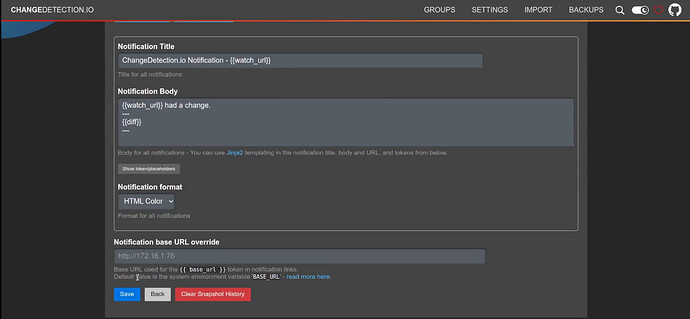
So, my particular notification URL for my gotify server is “gotify://” followed by the address of my gotify server on my network and then I add the API token to the end of the URL. Your values will differ from mine, but here’s my notification entry below. Note that you can have more than one notification mechanism defined in the global settings for ChangeDetection. I use my gotify as a simple example.
Again, be sure to scroll to the bottom of the notifications screen and click save.
I went back to the main screen and added a “watched” site for NginX Proxy Manager.
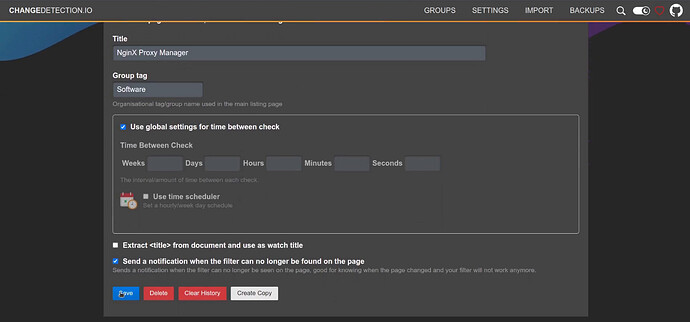
I click “edit/watch” and I give my page a user friendly name and i give it a tag “software”.
Scroll to the bottom of the page and click “Save”.
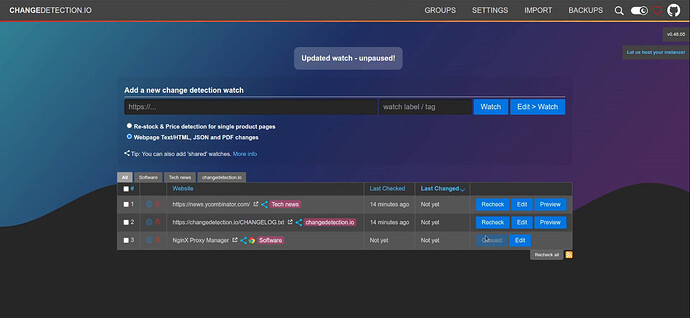
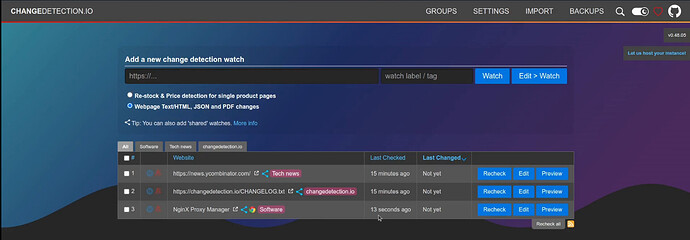
The main screen now lists the new site.
Wait a couple minutes for the website to be “scraped”. You may have to refresh your browser screen as shown in the video. Once the update occurs, the main screen will look like this:
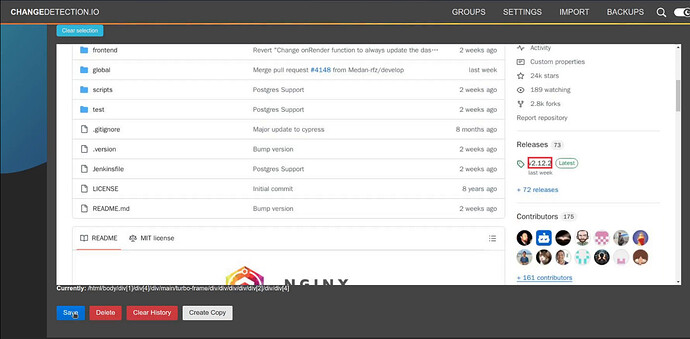
At this point, click “edit” and go to the “Visual File Selector” tab and scroll down to where it lists the version and highlight it.
Then be sure to scroll to the bottom and click “Save”.
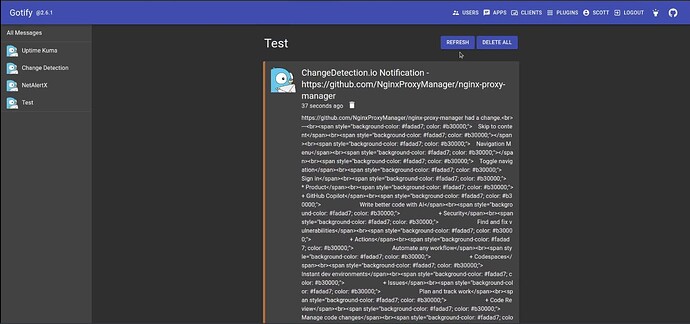
Gotify will get an initial message when a website is first added to ChangeDetection and that notification is quite verbose. Just delete that notification in Gotify and be assured that future notifications are far more succinct.
ChangeDetection has many other settings than the ones covered here and you can explore them. I think ChangeDetection is a valuable tool in the Home Lab to be alerted for when your self hosted application have new versions/updates available.
