Authentik is an Identification and Access Management (IAM) application designed to front end web servers or reverse proxy servers. Authentik has a comprehensive web front end to configure IAM services and Multi-Factor authentication that makes adding additional authorization to your apps easy.
Authentik has numerous features and supports the NginX webserver, Traefix and Caddy, but I am going to focus on using Authentik specifically with NginX Proxy Manager (NPM).
In the tutorial, I started with a LXD container which could have also been a virtual machine or a bare metal server. If you use a LXD container, be sure to set security.nesting to true because Authentik is a docker application and nesting is required.
To install Docker and docker-compose:
curl -sSL https://get.docker.com | sh
sudo apt install docker-compose
Create a user account.
adduser scott
Add the user to the sudo and the docker groups:
sudo usermod -aG sudo scott
sudo usermod -aG docker scott
Move over to the new account:
sudo - scott
Create a folder for Authentik and move into it:
mkdir authentik
cd authentik
Edit a docker compose file:
sudo nano docker-compose.yml
Insert the following in the file:
version: '3.4'

services:
  postgresql:
    image: docker.io/library/postgres:12-alpine
    restart: unless-stopped
    healthcheck:
      test: ["CMD-SHELL", "pg_isready -d $${POSTGRES_DB} -U $${POSTGRES_USER}"]
      start_period: 20s
      interval: 30s
      retries: 5
      timeout: 5s
    volumes:
      - database:/var/lib/postgresql/data
    environment:
      - POSTGRES_PASSWORD=${PG_PASS:?database password required}
      - POSTGRES_USER=${PG_USER:-authentik}
      - POSTGRES_DB=${PG_DB:-authentik}
    env_file:
      - .env
  redis:
    image: docker.io/library/redis:alpine
    command: --save 60 1 --loglevel warning
    restart: unless-stopped
    healthcheck:
      test: ["CMD-SHELL", "redis-cli ping | grep PONG"]
      start_period: 20s
      interval: 30s
      retries: 5
      timeout: 3s
    volumes:
      - redis:/data
  server:
    image: ${AUTHENTIK_IMAGE:-ghcr.io/goauthentik/server}:${AUTHENTIK_TAG:-2023.3.1}
    restart: unless-stopped
    command: server
    environment:
      AUTHENTIK_REDIS__HOST: redis
      AUTHENTIK_POSTGRESQL__HOST: postgresql
      AUTHENTIK_POSTGRESQL__USER: ${PG_USER:-authentik}
      AUTHENTIK_POSTGRESQL__NAME: ${PG_DB:-authentik}
      AUTHENTIK_POSTGRESQL__PASSWORD: ${PG_PASS}
    volumes:
      - ./media:/media
      - ./custom-templates:/templates
    env_file:
      - .env
    ports:
      - "${AUTHENTIK_PORT_HTTP:-9000}:9000"
      - "${AUTHENTIK_PORT_HTTPS:-9443}:9443"
  worker:
    image: ${AUTHENTIK_IMAGE:-ghcr.io/goauthentik/server}:${AUTHENTIK_TAG:-2023.3.1}
    restart: unless-stopped
    command: worker
    environment:
      AUTHENTIK_REDIS__HOST: redis
      AUTHENTIK_POSTGRESQL__HOST: postgresql
      AUTHENTIK_POSTGRESQL__USER: ${PG_USER:-authentik}
      AUTHENTIK_POSTGRESQL__NAME: ${PG_DB:-authentik}
      AUTHENTIK_POSTGRESQL__PASSWORD: ${PG_PASS}
    # `user: root` and the docker socket volume are optional.
    # See more for the docker socket integration here:
    # https://goauthentik.io/docs/outposts/integrations/docker
    # Removing `user: root` also prevents the worker from fixing the permissions
    # on the mounted folders, so when removing this make sure the folders have the correct UID/GID
    # (1000:1000 by default)
    user: root
    volumes:
      - /var/run/docker.sock:/var/run/docker.sock
      - ./media:/media
      - ./certs:/certs
      - ./custom-templates:/templates
    env_file:
      - .env

volumes:
  database:
    driver: local
  redis:
    driver: local
Save the file with CTRL O and Enter and then CTRL X to exit nano.
Edit the startup script:
nano passgen.sh
Insert the following in the file:
# You can also use openssl instead: `openssl rand -base64 36`
sudo apt-get install -y pwgen
# Because of a PostgreSQL limitation, only passwords up to 99 chars are supported
# See https://www.postgresql.org/message-id/09512C4F-8CB9-4021-B455-EF4C4F0D55A0@amazon.com
echo "PG_PASS=$(pwgen -s 40 1)" >> .env
echo "AUTHENTIK_SECRET_KEY=$(pwgen -s 50 1)" >> .env
# Skip if you don't want to enable error reporting
echo "AUTHENTIK_ERROR_REPORTING__ENABLED=true" >> .env
Save the file with CTRL O and Enter and CTRL X to exit the editor.
Change the script to be executable:
chmod +x passgen.sh
Execute the script:
./passgen.sh
The script creates a file named “.env”
Edit the file:
nano .env
By default, authentik listens on port 9000 for HTTP and 9443 for HTTPS. To change the default and instead use ports 80 and 443, you can add the following lines at the end of the .env file:
AUTHENTIK_PORT_HTTP=80
AUTHENTIK_PORT_HTTPS=443
Save the file with CTRL O and Enter and CTRL X to exit the editor.
Perform the following two commands to pull and launch the app:
docker-compose pull
docker-compose up -d
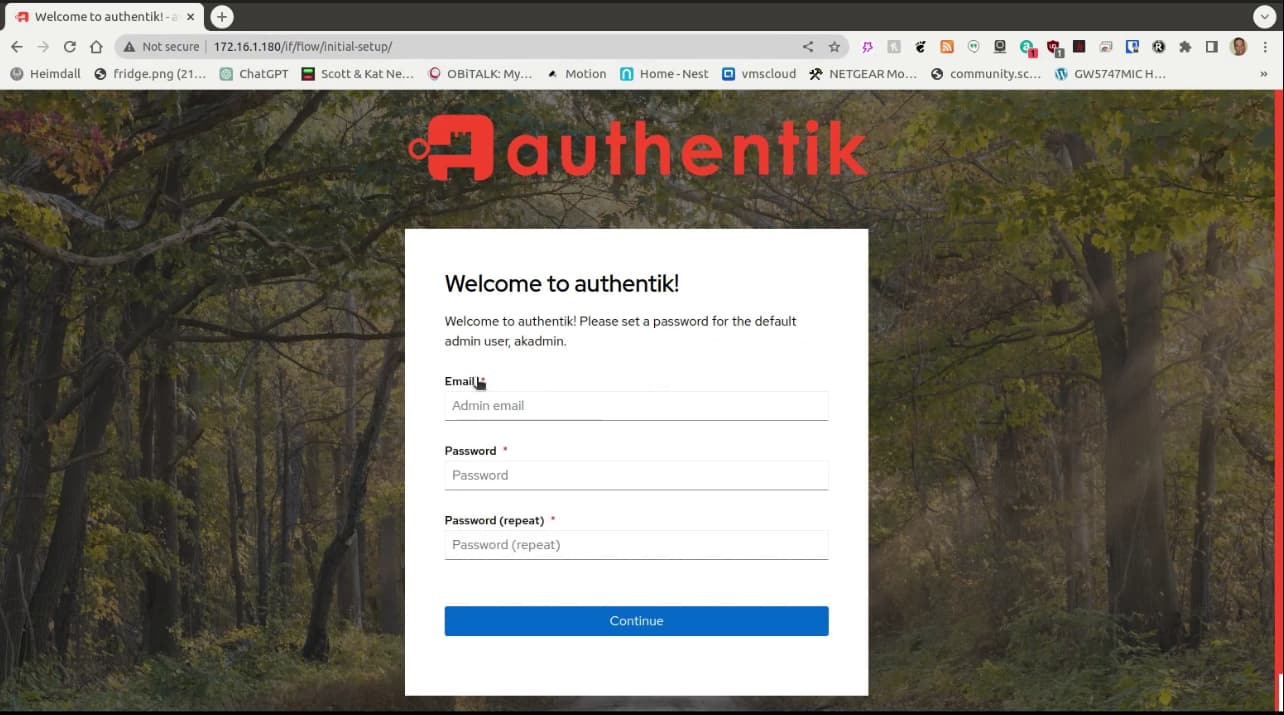
After the above completes, you can go to the URL as follows with the IP address of your server in place of a.b.c.d:
http://a.b.c.d/if/flow/initial-setup/
You will provide your username and password as shown in the video.
Next, add a subdomain name for auth.domain.com at your domain name service provider.
Then, add a new proxy definition in your NginX Proxy Manager for your Authentik installation and grant it an SSL certificate with NPM.

Now you should sign on with your https://auth.domain.com/.
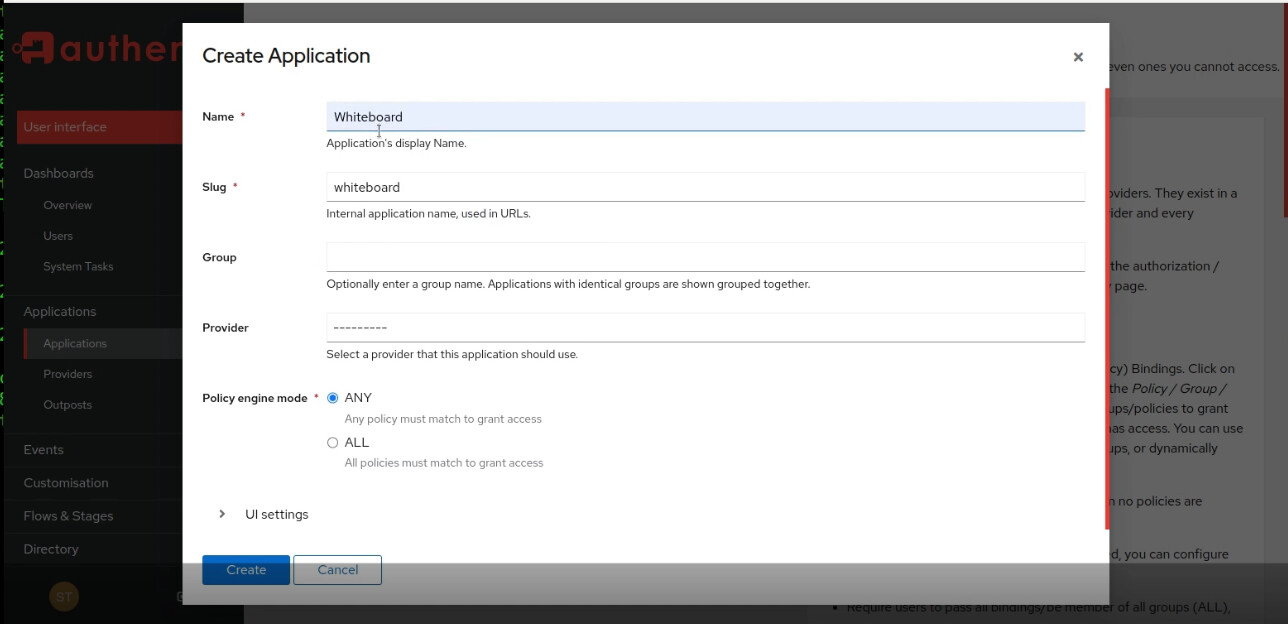
Add an application in Authetik.
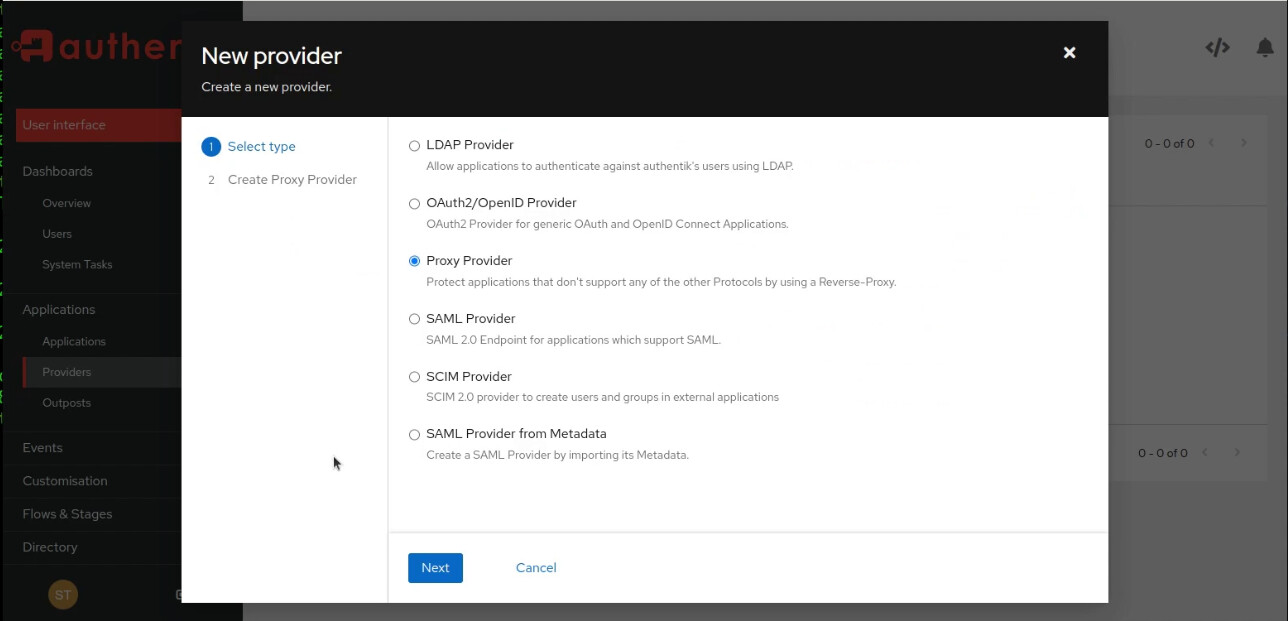
Add a Proxy Provider (Same name as your application and there is a one-to-one relationship between applications and providers.
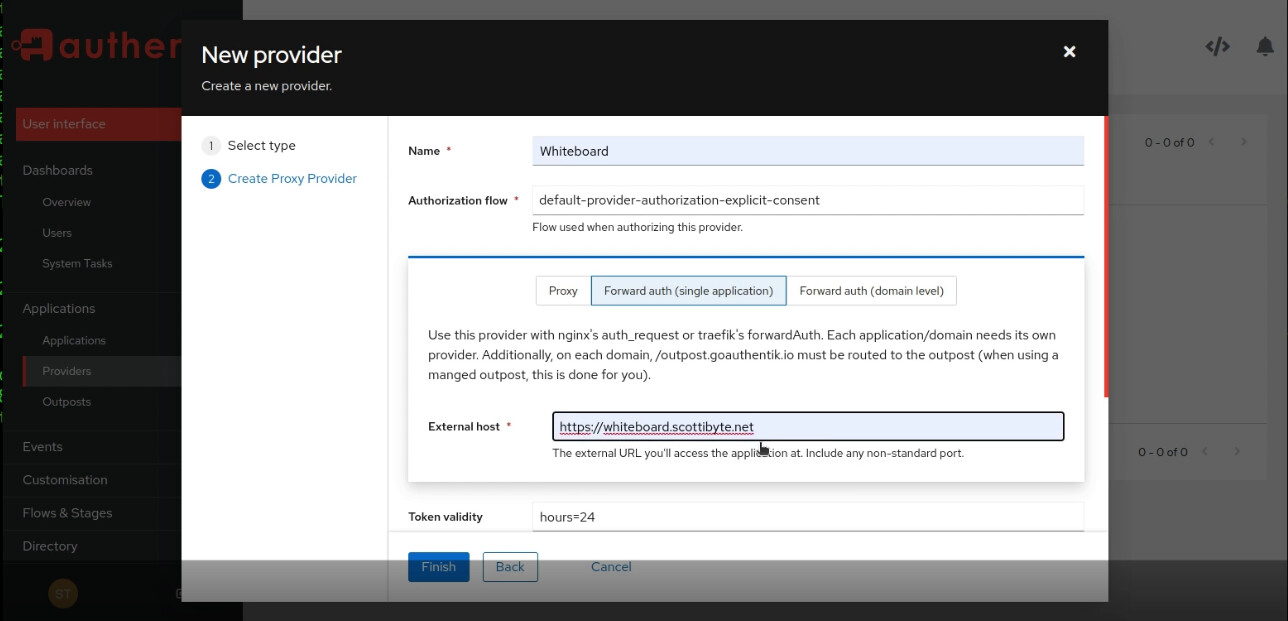
Enter the Provider Name, the authorization flow as “default-provider-authorization-explicit-consent”, and enter the URL used to access your application externally:
Assign your provider to an application by editing the application to update it:
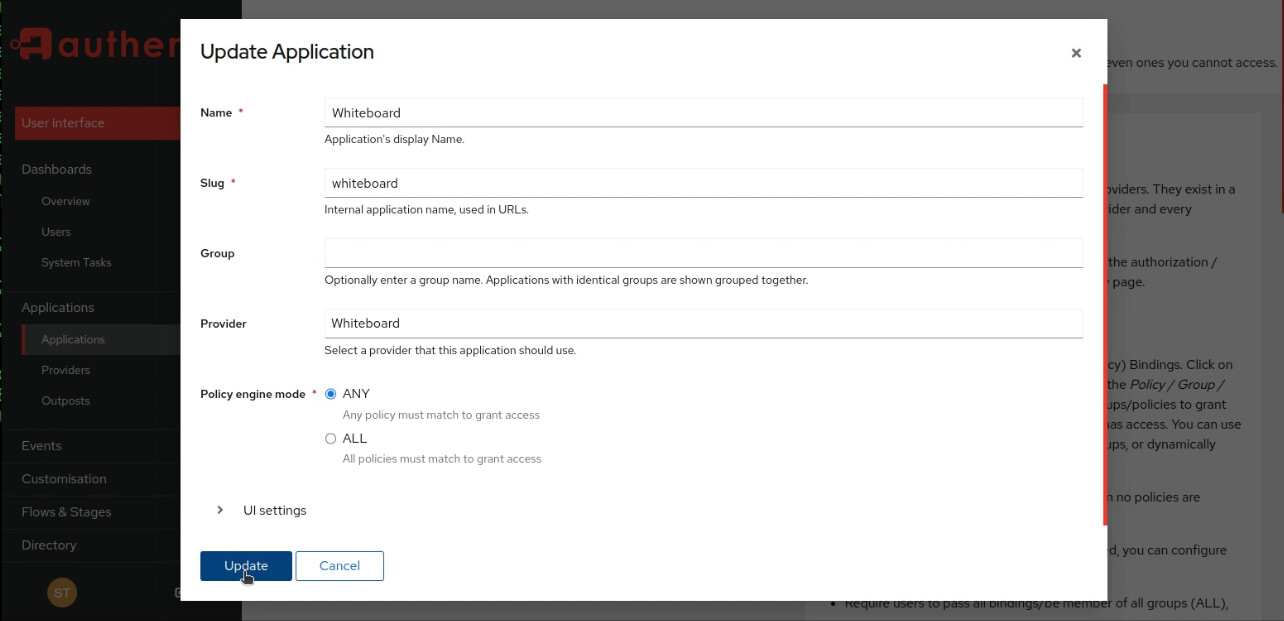
Go down to Outposts and edit the Outpost and highlight your app(s) and then click the update button.

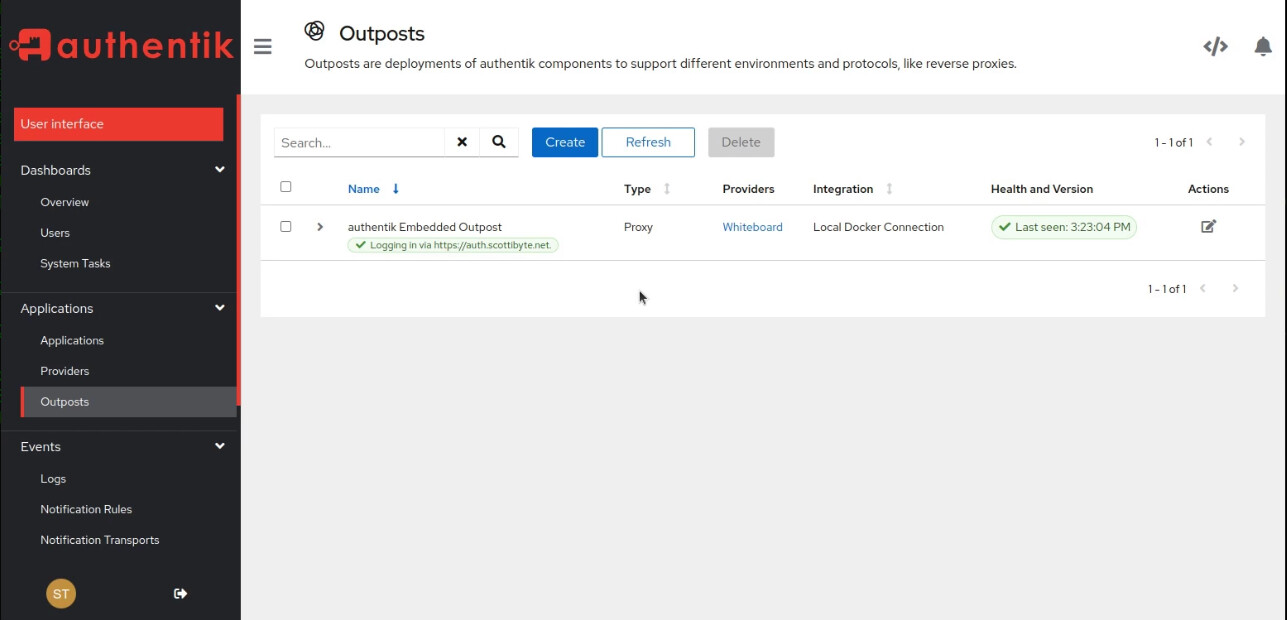
If the Outpost screen shows “No Integration Active” as in the screenshot below, you have another step before it will work.
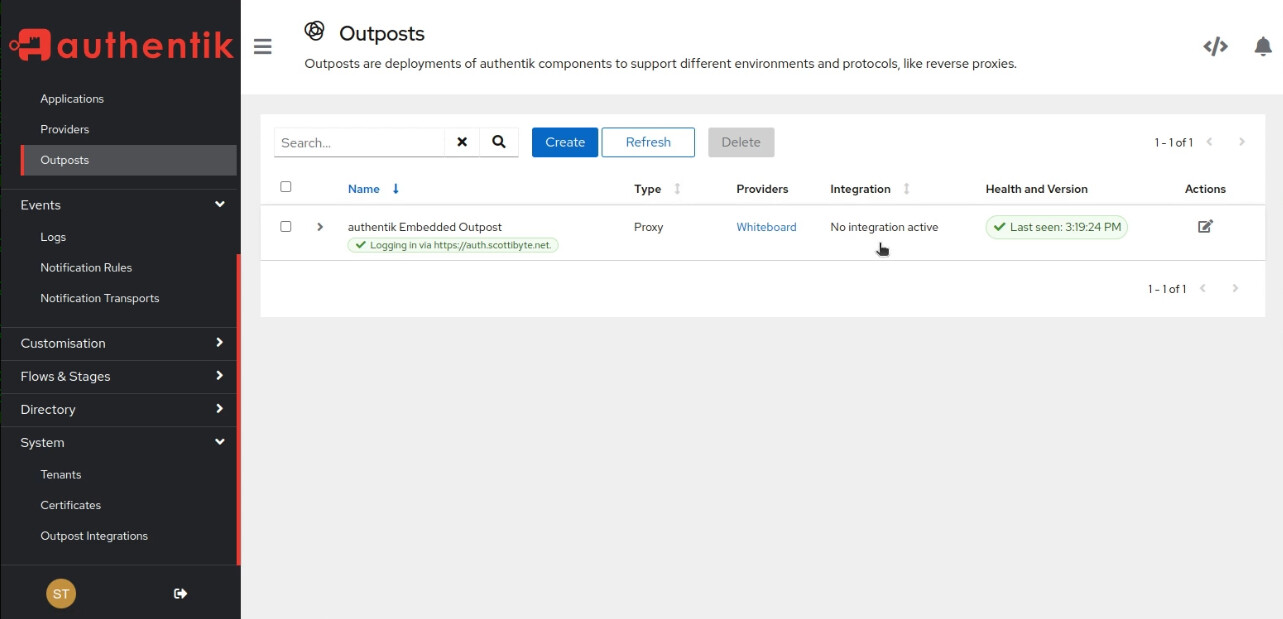
You will need to add an Outpost Integration.
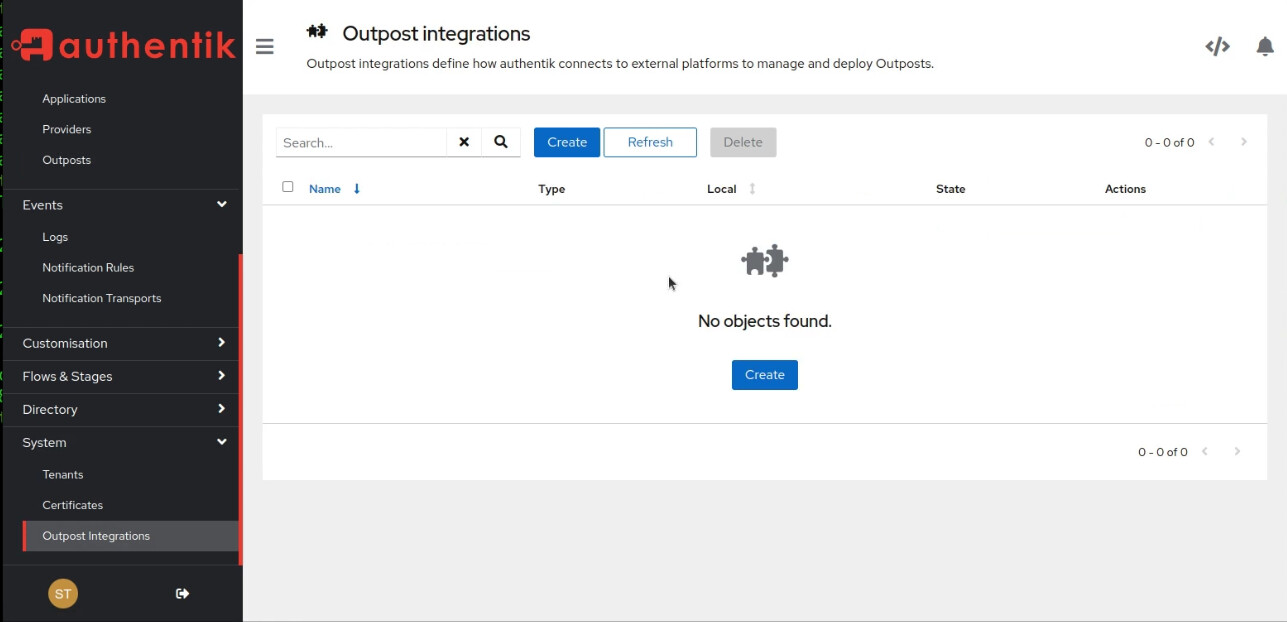
Click Create and select Docker Service-Connection as below:
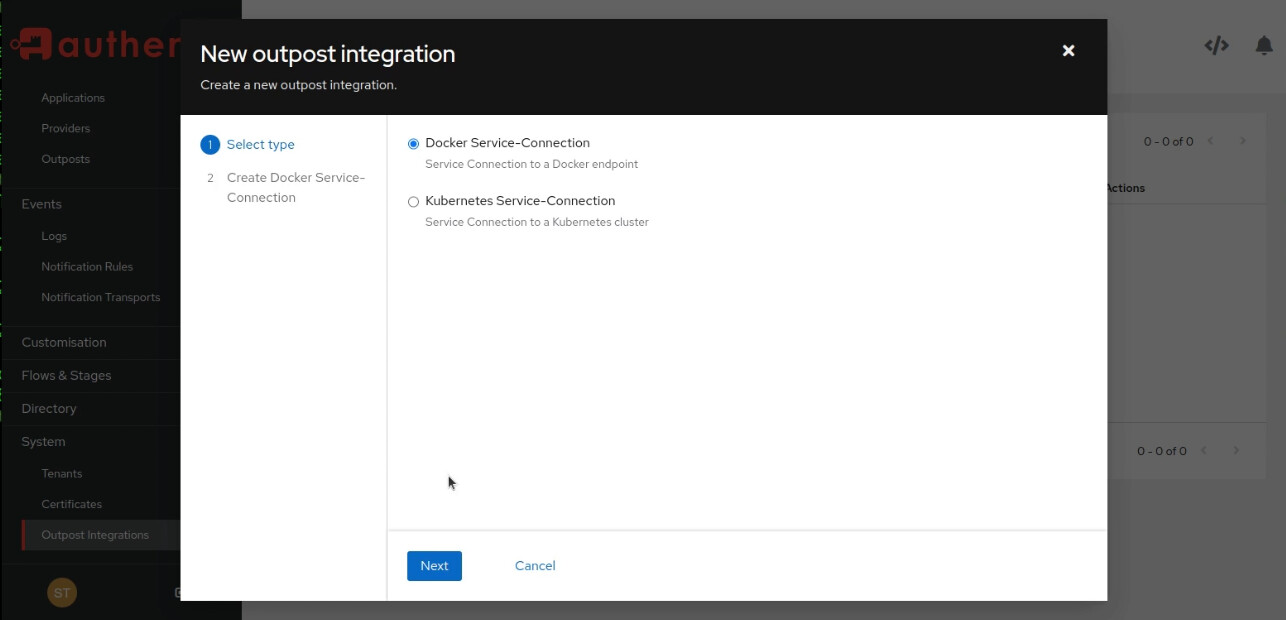
Enter the name, turn on the Local switch and enter the docker URL as indicated below:
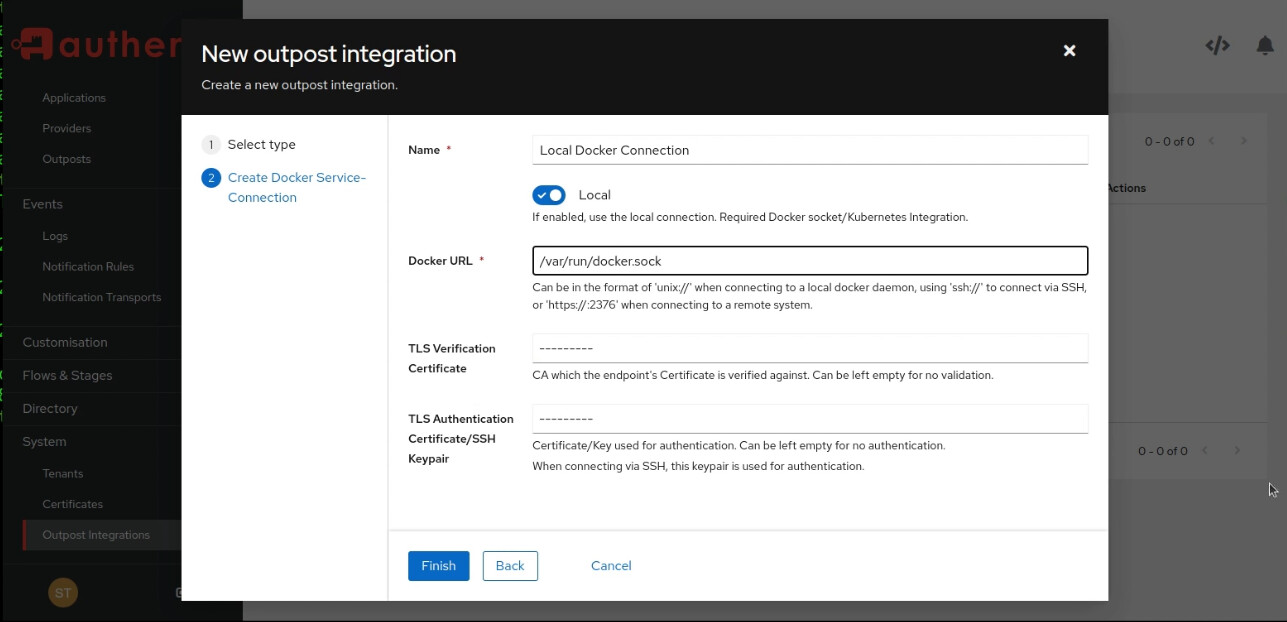
Your Outpost Integration will be healthy once you refresh it.

No go back to “Outposts” and edit it and you will be able to choose the new Integration as in the following screenshot:
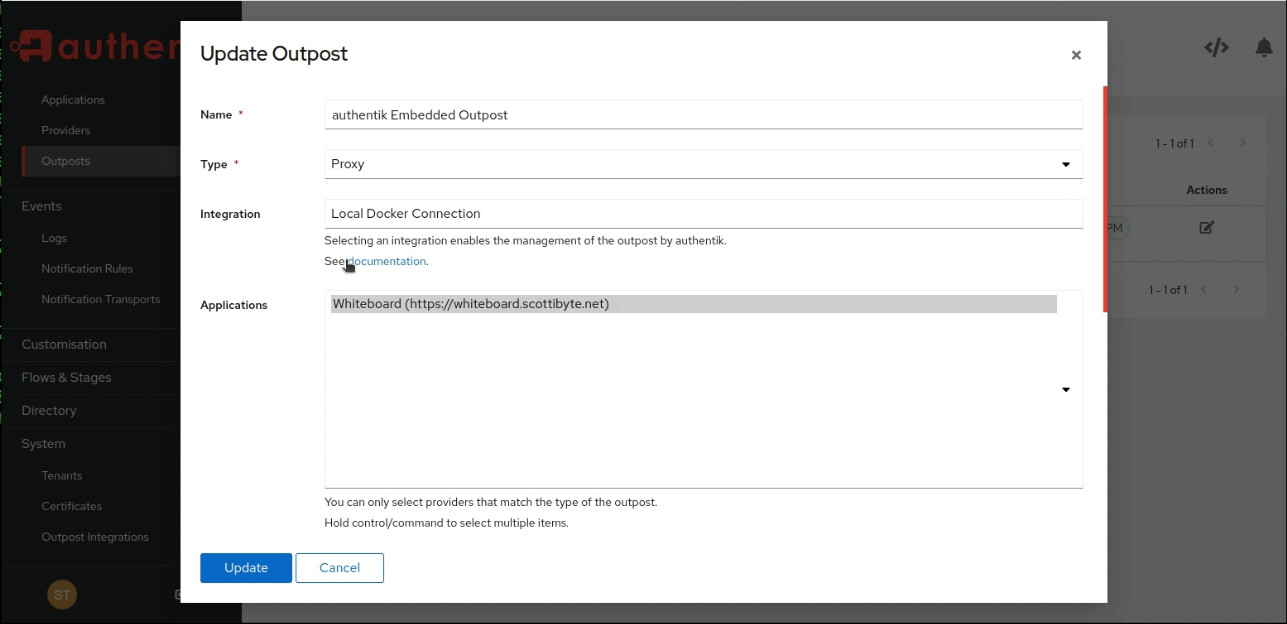
It should now look like this:
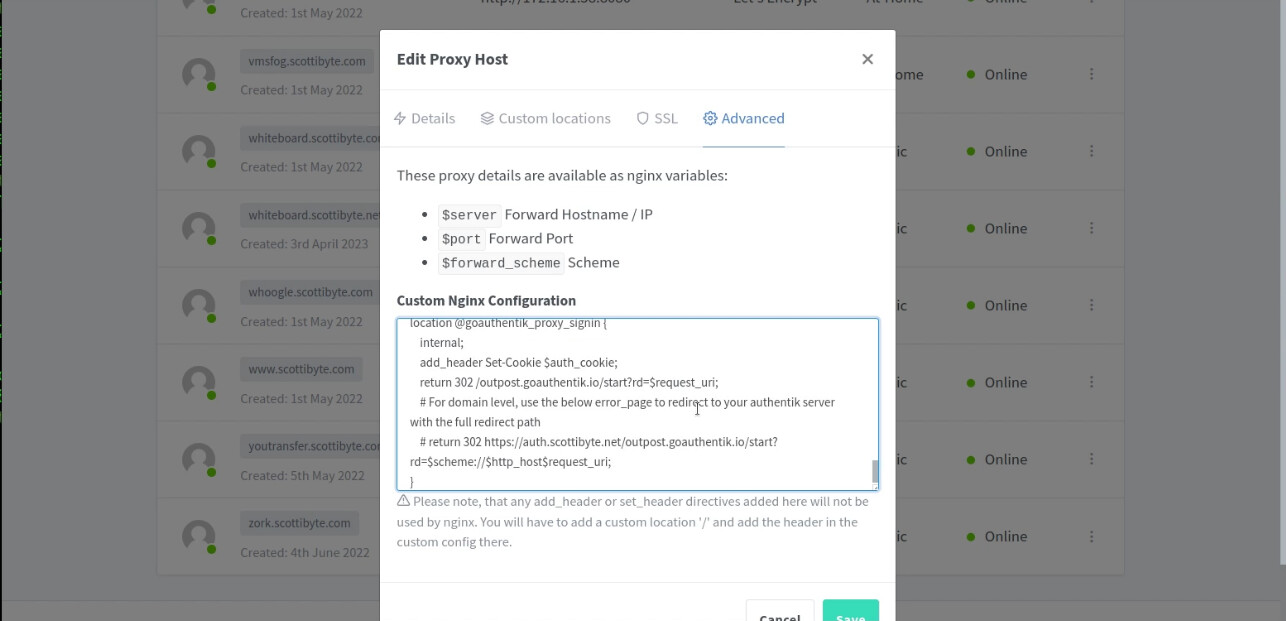
Go back to the providers screen and click on the name of your provider. Scroll down to the setup section and select "NginX Proxy Manager and copy the code snippet which will be specific to your installation.
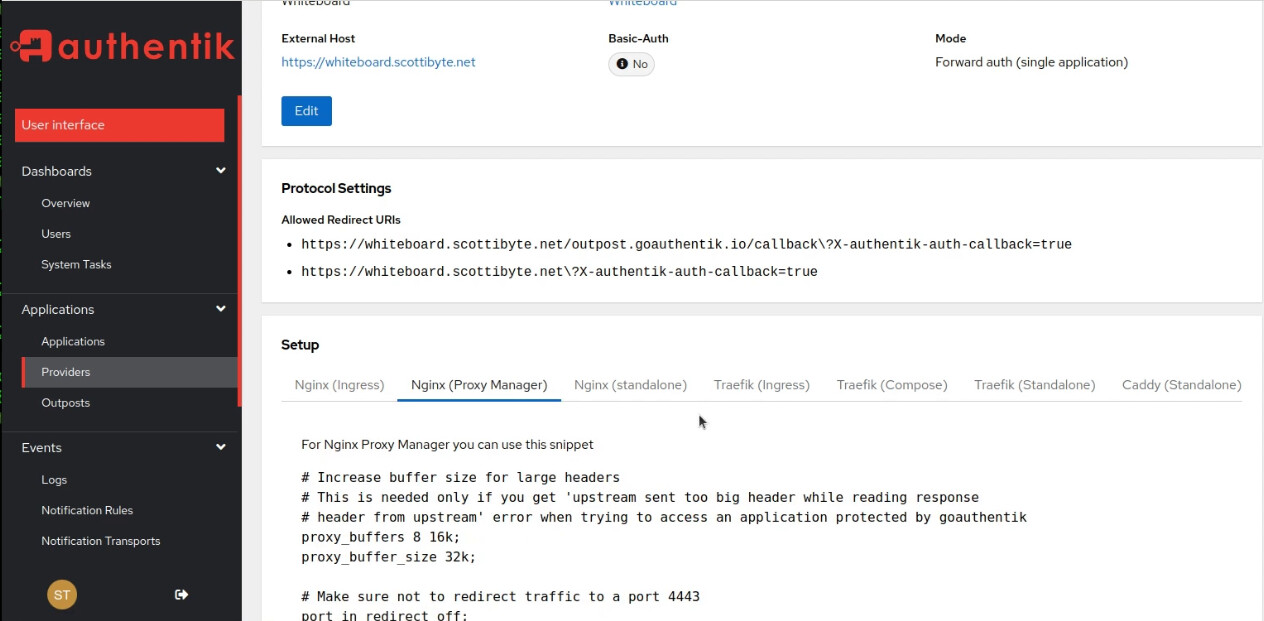
Go into your NPM and edit your service. Once there, go to the “advanced” tab and paste in the code snippet you copied and SAVE the NPM proxy.
Log out of Authentik in order to test.
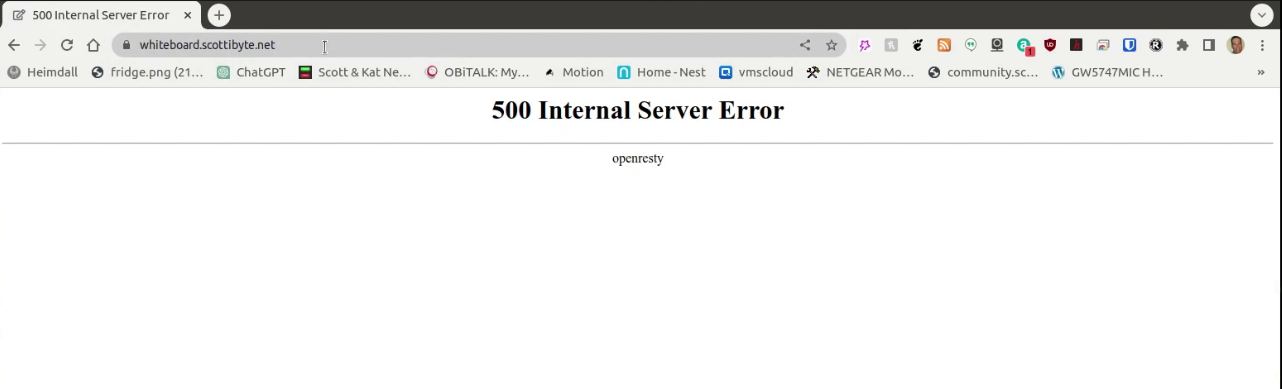
Go to the normal public URL of your service and Authentik should prompt you for credentials before you are able to access your application.
Sometimes, this won’t work and you will get a 500 error in your browser. This means that your router is unable to get NPM to talk to Authentik through the domain name.
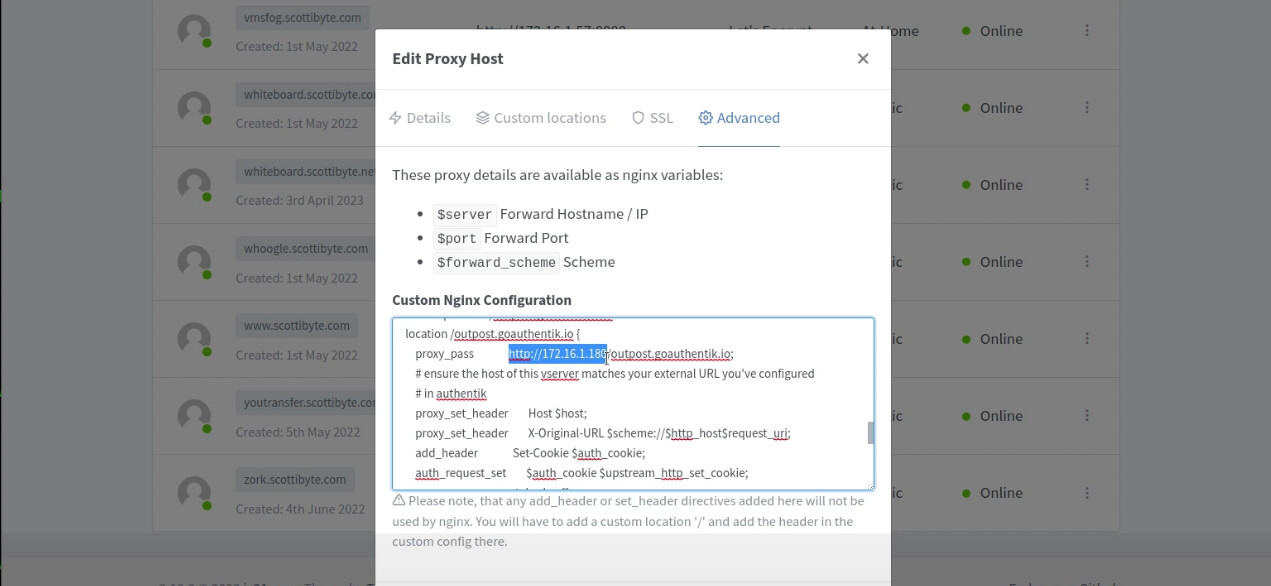
If you see the above error, go back into NPM and edit your proxy entry. Go back into the advanced tab and search for the “proxy_pass” directive.
Change the https://auth.domain.com to http://a.b.c.d instead using the local address of your Authentik server instead and this will fix the issue as in the following example:
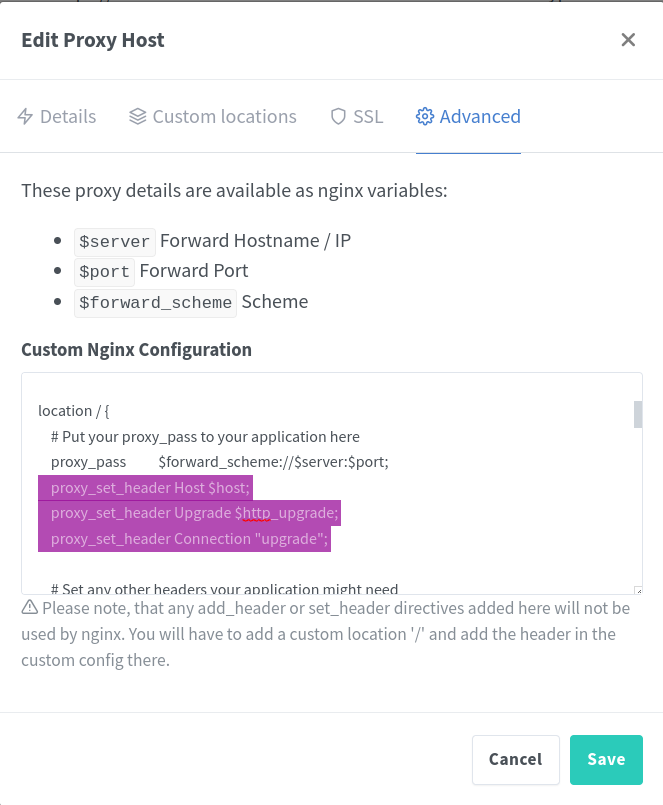
If your application uses “Websockets” in NginX Proxy Manager, you might possibly see your screen corrupted and you might need to add some definitions into the “location” section of the proxy entry. NOTE: If your app uses SSL, you need to make sure that the “scheme” in NginX Proxy Manager is set to https because “double” redirection of SSL is not valid. Add the following lines near the beginning of your “advanced” section:
proxy_set_header Host $host;
proxy_set_header Upgrade $http_upgrade;
proxy_set_header Connection "upgrade";
The lines highlighted below show how the entry should look:
Now application logon should work. I get correctly redirected to the Authentik server as follows:
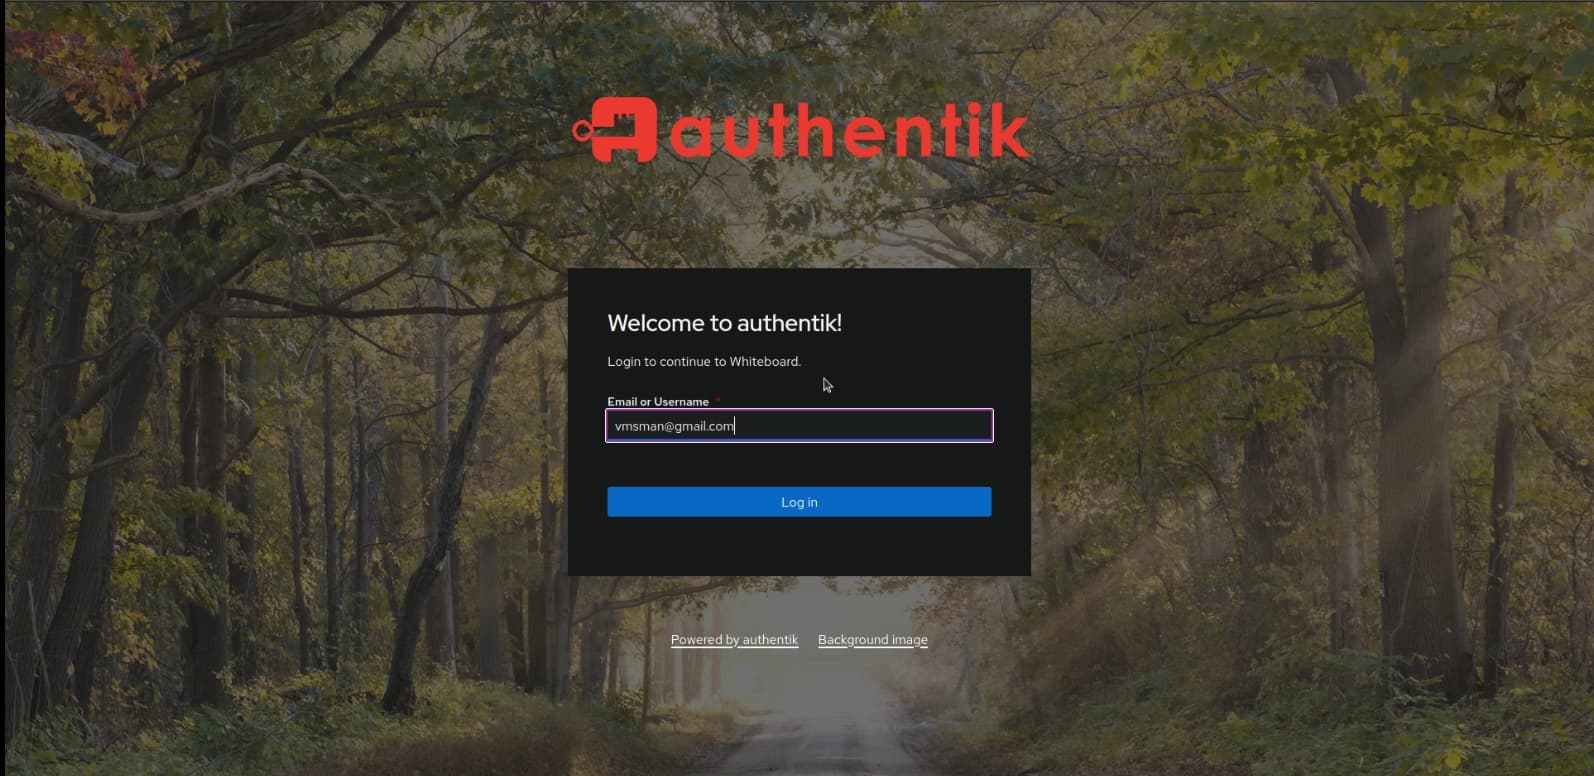
This is very basic tutorial and Authentik provides many more functions. You should create other user accounts, groups, and set 2FA login options.