This tutorial is a follow up to “High Availability Pi-Hole & Local DNS”.
In my last tutorial entitled “High Availability Pihole and local DNS” we saw how to make two piholes replicate each other with orbital-sync and we also installed nebula-sync for when pihole v6.0 is released.
We then used virtual router redundancy protocol (vrrp) to configure the two pi-holes for high availability automatic failover.
This time we are going to install Pi-hole on a Raspberry Pi 4 that I have in my homelab, configure orbitial-sync to replicate the master Pi-hole configuration to it, and finally add this new Pi-hole to the VRRP configuration as a tertiary DNS resolver.
When you enter a DNS name, a domain is implicitly assumed. For many home labs, a local DNS might have a “.local” domain and so I would connect to a server instance as follows:
ssh rocketchat.local
I feel that it is easier and more straight forward not to designate an implicit local domain and therefore I can:
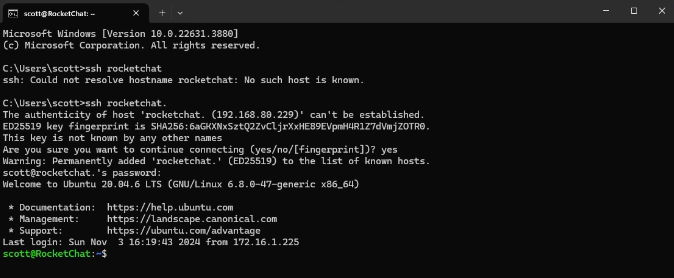
ssh rocketchat
This works great in Linux either way because the implicit domain “.” or a blank domain is assumed.
ssh rocketchat.
In Windows, there is no implicit assumption. Therefore, without the period the connection fails.
In Windows, the period must follow the DNS name if the subdomain name is null.
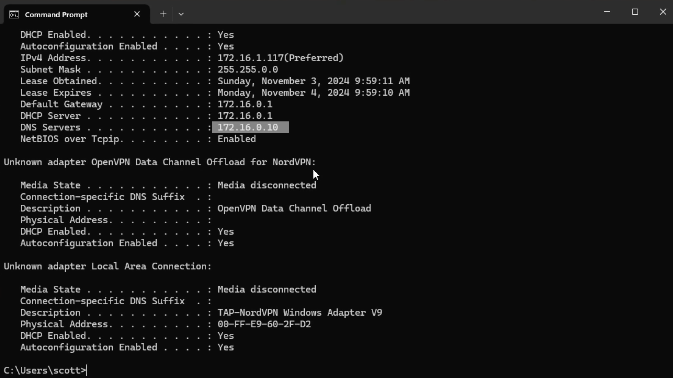
Because we have the VRRP virtual address defined in the configuration of our router’s DHCP, Windows will honor that and we can see that with the “ipconfig” command in Windows.
I didn’t mention it last time, but if your Pi-hole instances are virtual, be sure they are running on different hardware servers in order to provide true high availability.
With that in mind, my main Pi-hole is running as an incus container on my incus server vmsmist and my backup Pi-hole is running as an incus container on my incus server vmsrain.
This time, I am installing a tertiary Pi-hole on a Raspberry Pi 4 so that I will still have local DNS resolution in the event that both of the aforementioned incus servers that host the primary and backup Pi-holes are down.
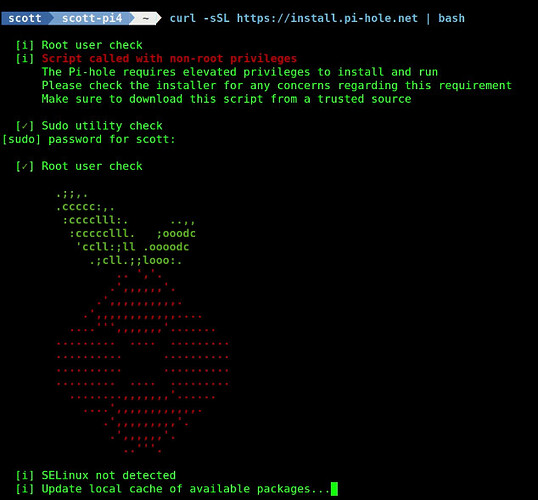
To install Pi-hole, I log into my Raspberry Pi and enter the following command in a terminal:
curl -sSL https://install.pi-hole.net | bash
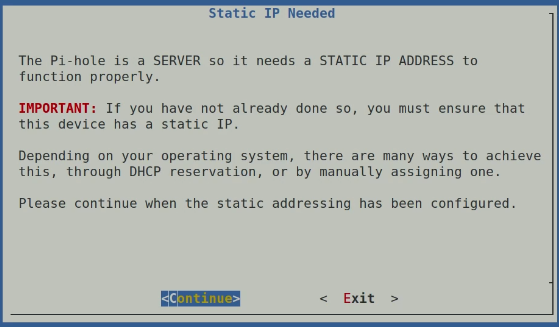
In the process of installing Pi-hole you will be informed that your Pi-hole requires a static IP address that does not change.
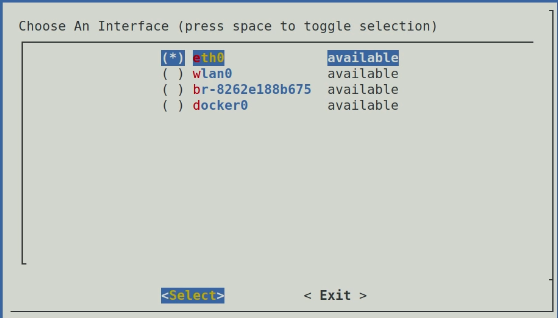
Next, I choose the “eth0” interface because that is the Ethernet Adapter name on the Raspberry Pi 4. Be sure to configure your Pi-hole on a wired connection and do not use the wifi (wlan0) interface.
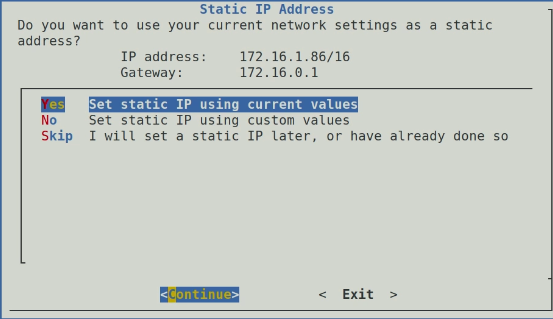
You get one final message informing you that the current address of the system where you are installing Pi-Hole will be a static address.
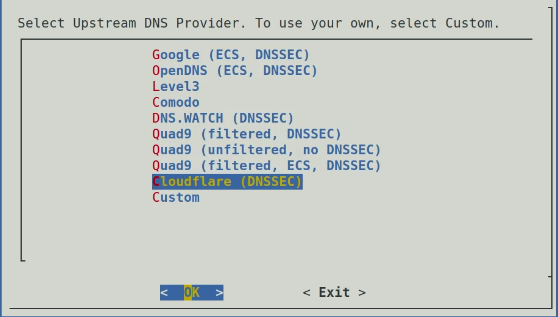
Since Pi-hole is a local DNS resolver and not just an ad-blocker, you are asked which upstream servers that you want to use when going to addresses on the public Internet. My choice is Cloudflare.
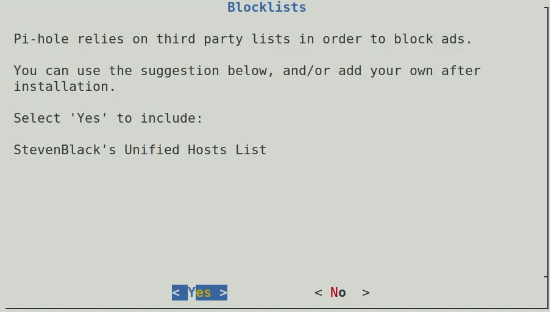
I accept the default block lists as follows:
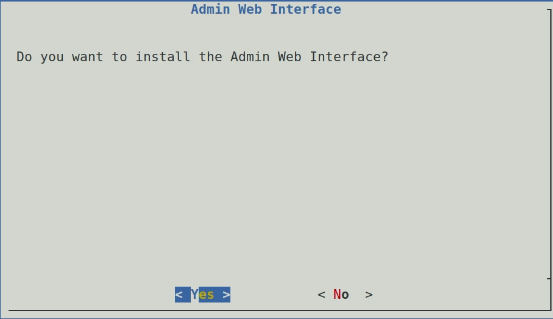
Next you are asked if you want to install the admin web interface which honestly should be a default or you won’t be able to manage your Pi-hole easily.
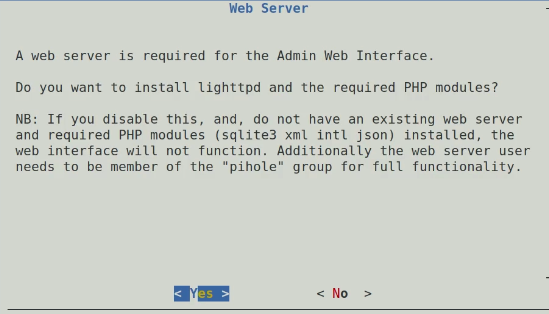
You also get a notification that the web interface needs a web server and you will want to answer yes here too.
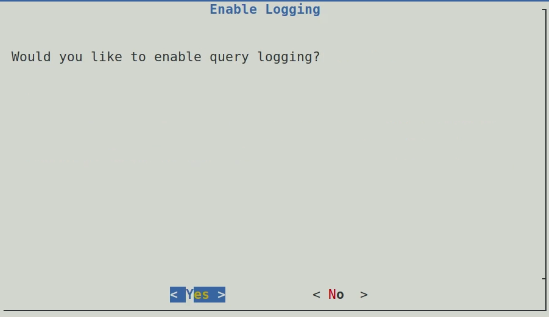
You should also enable logging so you can see which sites are blocked.
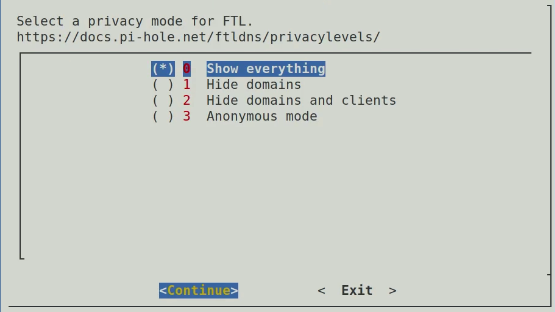
I like to have all of the information displayed in the logs.
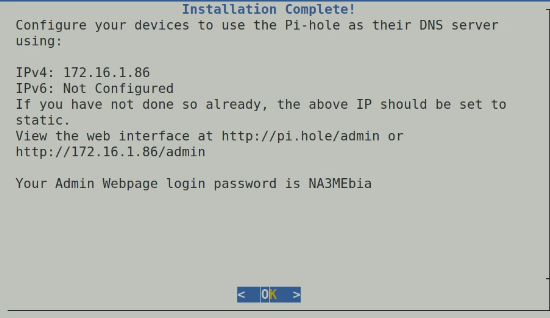
The installation will then complete and you will receive a summary message at the end.
You can change the web admin interface login password for Pi-hole with this command:
pihole -a -p

You can log into the pi-hole admin interface by going to the address of the pi-hole with /admin at the end. In my case:
http://172.16.1.86/admin
At this point, no client systems are using this Pi-hole and there are no local DNS entries from your primary Pi-hole and no VRRP failover which I described in the High Availability Pi-hole & Local DNS video.
Assuming that you have made local DNS entries in your primary Pi-hole, we want to have them replicated to this new server.
Connect to the nebula-sync server we created in the last video assuming you have a DNS entry for it.
ssh nebula-sync
Since we are still running Pi-hole V5.x, we are not using nebula-sync, so move into the orbital-sync folder we created:
cd orbital-sync
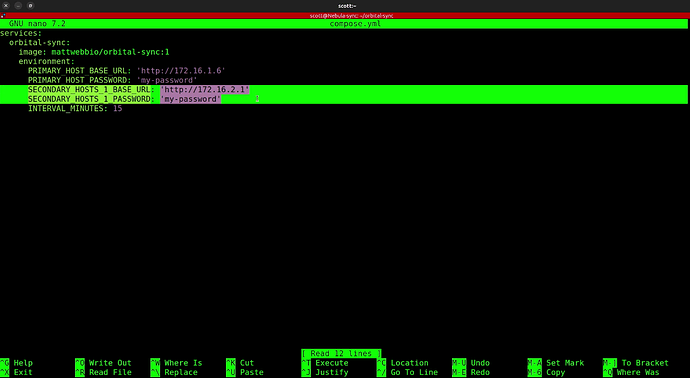
Edit the configuration file.
nano compose.yml
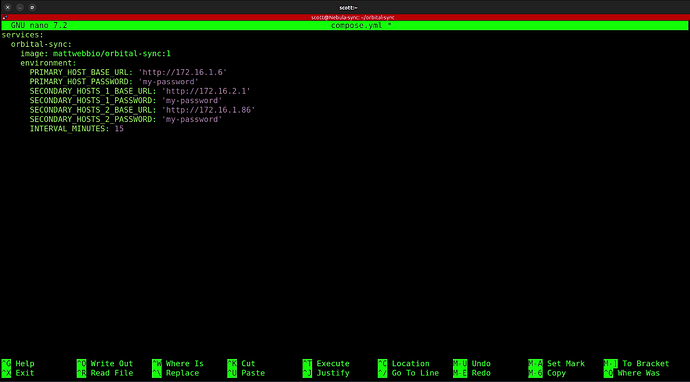
Make a copy of the highlighted lines above and paste them as additional lines, changing the names of the parameters for HOSTS_2, changing the base URL address and changing the password accordingly as shown in the video. My file looks like this after the changes:
Do a CTRL O and enter to write the file out and a CTRL X to exit the nano editor.
Now relauch the application to start the replication:
docker compose up -d
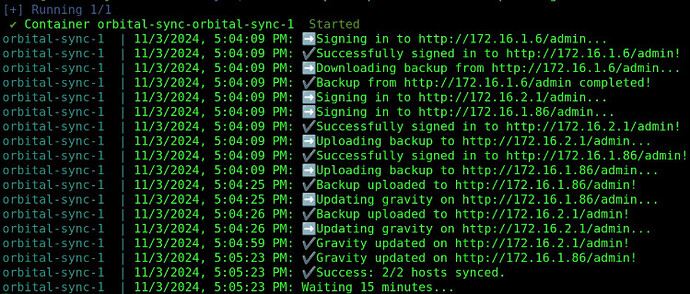
If you want to verify it is working:
docker compose logs -f
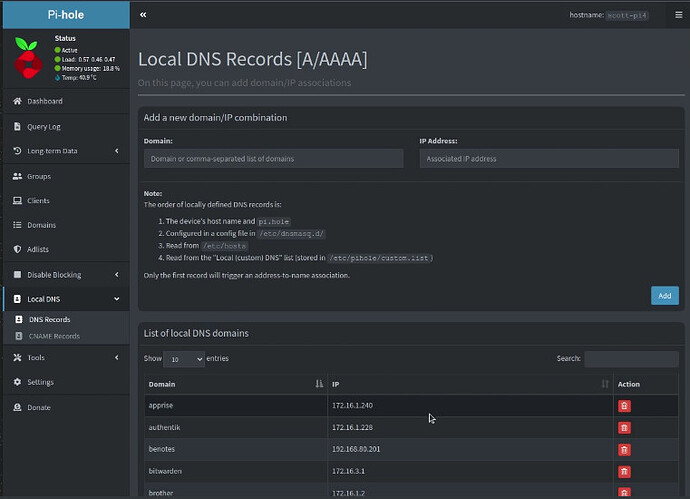
If you head back to your Pi-hole web admin screen and click on dashboard, then local DNS and local DNS records you should now see your DNS entries have been replicated on the new Pi-hole.
We must now configure VRRP for failover. Log out of the nebula-sync server and log back into your new Pi-hole. In my case:
exit
ssh pi4
Install the keepalived daemon:
sudo apt install keepalived
Edit the configuration file.
sudo nano /etc/keepalived/keepalived.conf
Insert the following in the file and be sure to change your virtual address to match the one you are using from the last video. Also change the interface name if required for your system.
vrrp_instance pihole {

        state BACKUP
        interface eth0
        virtual_router_id 7
        priority 253
        advert_int 1
        authentication {
              auth_type PASS
              auth_pass 12345
        }
        virtual_ipaddress {
              172.16.0.10/16
        }
}
Do a CTRL O and enter to write the file out and a CTRL X to exit the nano editor.
Restart the service.
sudo systemctl restart keepalived
If you followed everything in the last video and in this video, you should now have primary, backup and tertiary Pi-hole instances that will automatically failover providing for high availabilty local DNS name resolution on your local network.

