Navidrome is a music server that is like having your own private open source self-hosted “Spotify” for your personal music library for music tracks that you own and store locally.
On the Navidrome installation page, they show the docker-compose file for this application which is very simple.

Normally I show the installation of docker applications by nesting them inside of incus containers for better isolation and security. This time, we are going to install Navidrome as an Incus OCI container since I have had many subscriber requests to cover more uses of Incus OCI.
Start by logging into your Incus server and listing your Incus repositories:
incus remote list
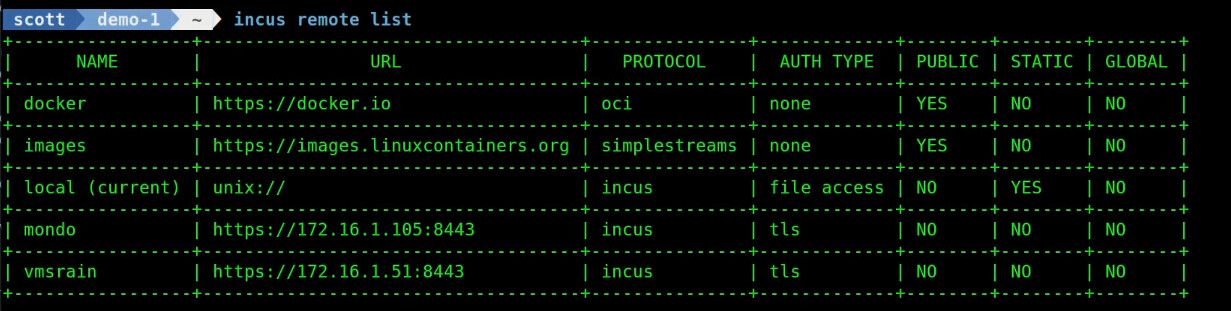
If you do not see a “docker” repository listed as in my listing above, execute the following command to add the docker repository to your Incus server:
incus remote add docker https://docker.io --protocol=oci
If you had followed my Incus Containers Step by Step tutorial, then you have a software bridge named “bridge0”. Add a network using that bridge.
incus network create OCI --type=macvlan parent=bridge0
Create the Navidrome container without starting it.
incus init docker:deluan/navidrome:latest Navidrome -c boot.autostart=true --network OCI
To store the configuration for Navidrome, create an Incus custom volume in your default storage pool.
incus storage volume create default Navidrome-Data
Execute the following command to allow read/write access to this volume.
incus storage volume set default Navidrome-Data security.shifted=true
When we list the volumes in your default storage pool you can see the container volume and the data volume.
incus storage volume list default

Connect the data storage volume to the container.
incus config device add Navidrome Navidrome-Data disk pool=default source=Navidrome-Data path=/data
I want a place to store my music and since that might be quite a lot of data, my incus server is not the place. My music is actually located on my QNAP NAS.
In the tutorial, I created a mount point in my home folder on my incus server.
mkdir music
I edit my file systems table to include a mount for the NFS exported voume I previously created on my NAS. The creation of an NFS export is really outside the scope of this tutorial.
Edit my fstab:
sudo nano /etc/fstab
In my case, I added a line to perform the nfs mount to the bottom of the file. This will differ for your system.
172.16.1.58:/music /home/scott/music nfs defaults,nofail,_netdev 0 0
Save the file with a CTRL O and enter and then a CTRL X to exit the nano editor.
Reload the systemd daemon files as a best practice.
sudo systemctl daemon-reload
Install the NFS helper dependencies:
sudo apt install nfs-common -y
Test to see that your mount will work when the system reboots.
sudo mount -a -t nfs
If the prompt returns without any errors, then use the following command to perform the mount.
sudo mount -a nfs
You should now be able to list the “music” mount point and see your music files.
ls ./music
Connect the mounted music library to the Navidrome container:
incus config device add Navidrome Music disk source=/home/scott/music path=/music
Now start the Navidrome container:
incus start Navidrome

Go to your web browser and open the application at the address of the Navidrome container at port 4533.
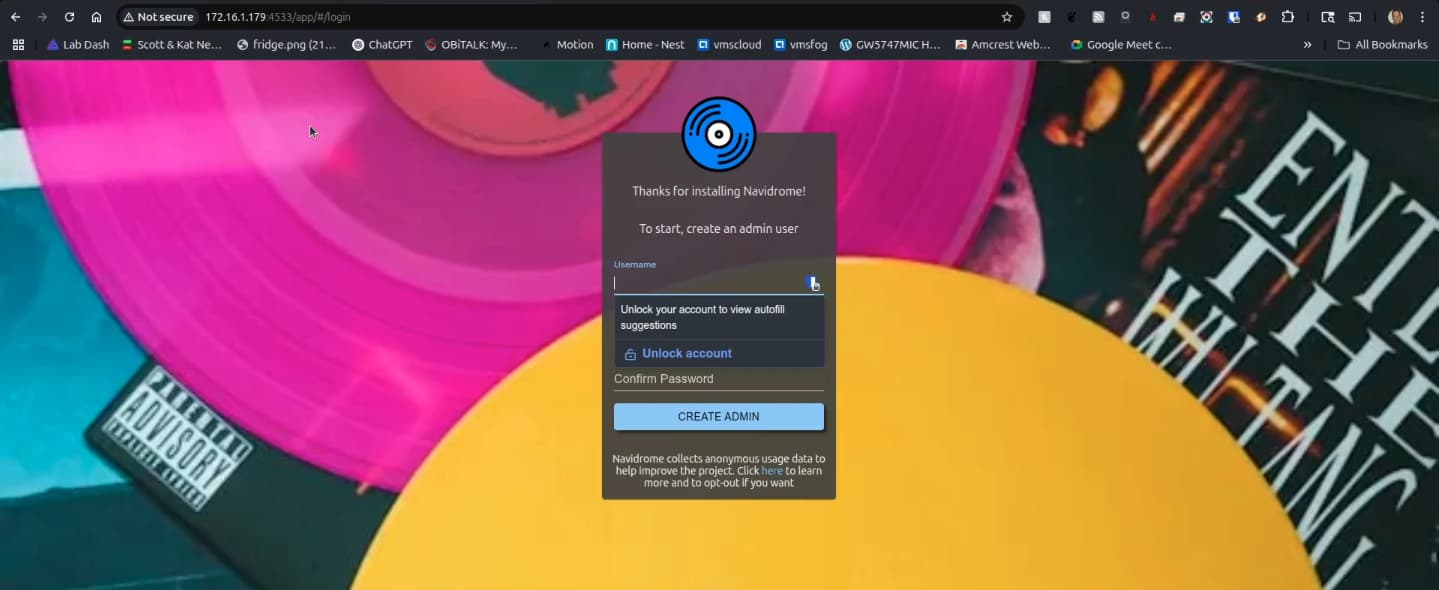
Enter a username and password information to create your admin account on the screen shown above.
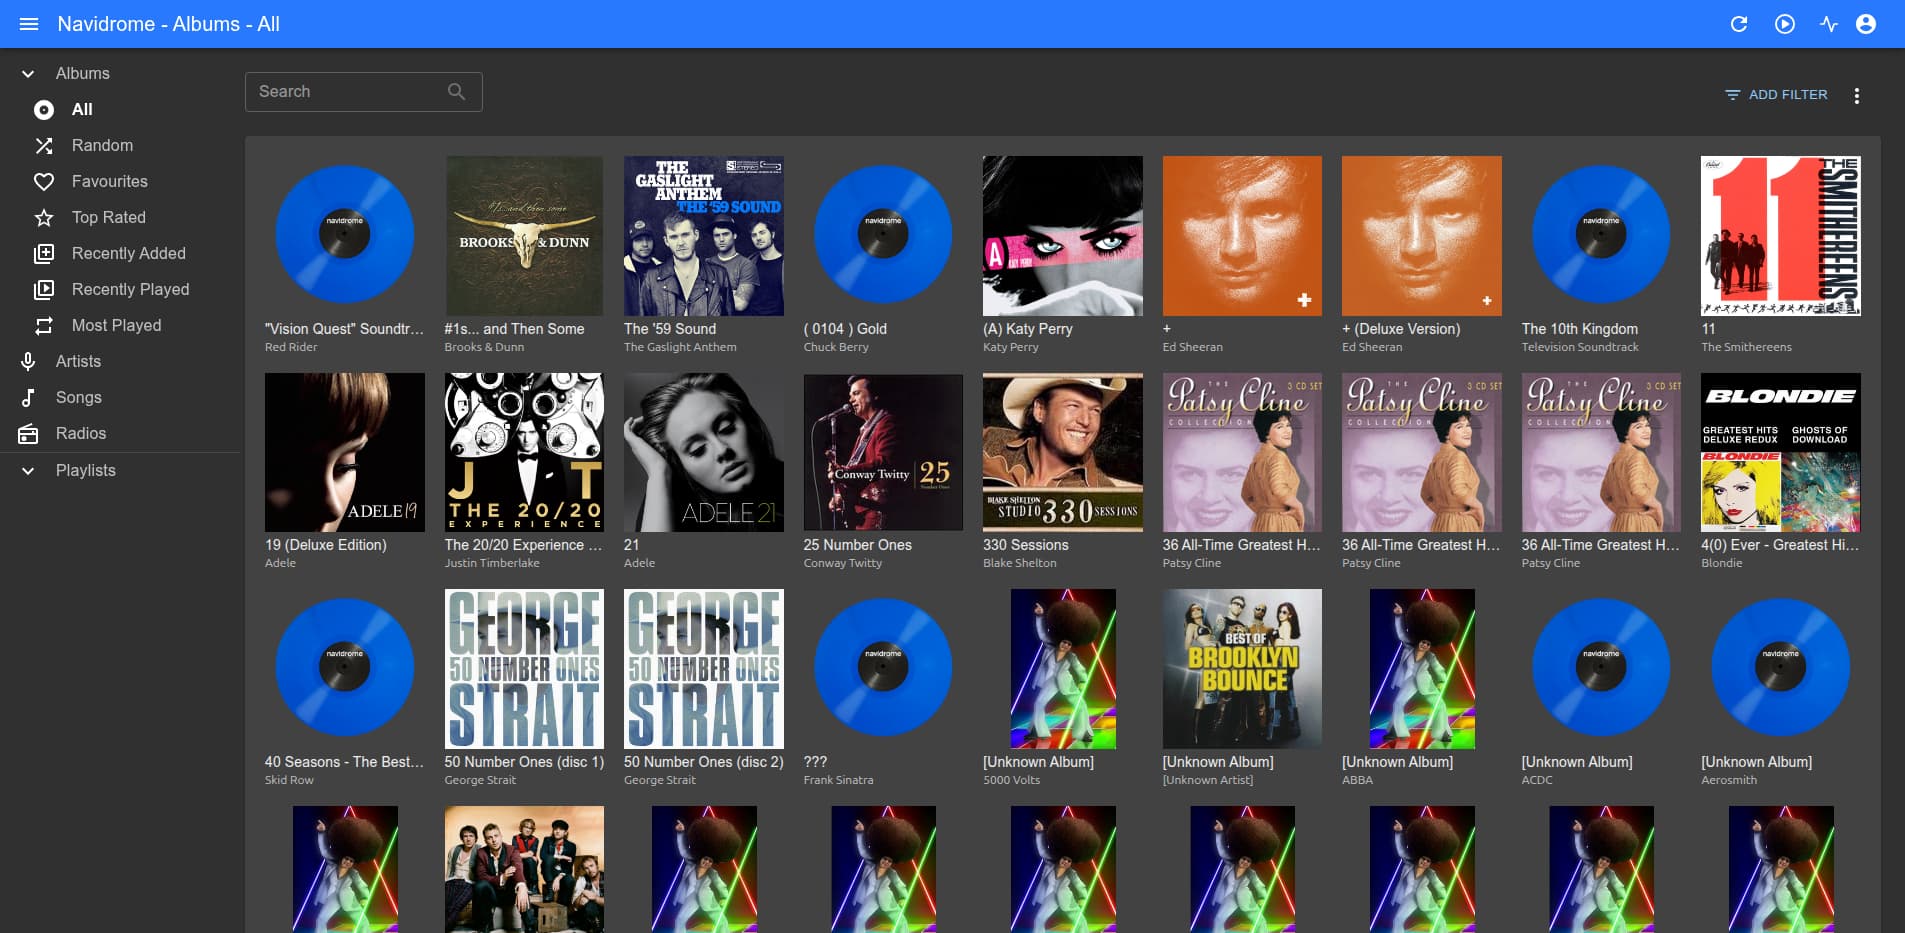
Once you sign in, you will see the main dashboard.
You can connect to Navidrome with a variety of client applications listed on the Navidrome site.
To update your Navidrome docker OCI application container when new versions are released, perform the following commands:
incus stop Navidrome
incus rebuild docker:deluan/navidrome:latest Navidrome
incus start Navidrome
As an optional step, you might also consider defining a subdomain for the application and creating an NginX Proxy Manager reverse proxy record to allow connecting to the server from the public Internet for when you are outside your home.