# LXD Built-In GUI
**URL:** https://discussion.scottibyte.com/t/lxd-built-in-gui/270
**Category:** Uncategorized
**Created:** [August 26, 2023, 5:04pm UTC](https://discussion.scottibyte.com/t/lxd-built-in-gui/270 "2023-08-26T17:04:31Z")
**Posts on this page:** 3
**Page:** 1
### Author:  [@scott](https://discussion.scottibyte.com/u/scott)
#### Post date: [August 26, 2023, 5:04pm UTC](https://discussion.scottibyte.com/t/lxd-built-in-gui/270/1 "2023-08-26T17:04:31Z")
There is a Canonical LXD web interface as of LXD v5.14. I have covered the third party interfaces for LXD including lxdui, LXD Mosaic, and LXD Dashboard. In this tutorial we learn how to configure the new Canonical LXD web interface.
The Canonical documentation on the LXD web UI is [here](https://documentation.ubuntu.com/lxd/en/latest/howto/access_ui/).
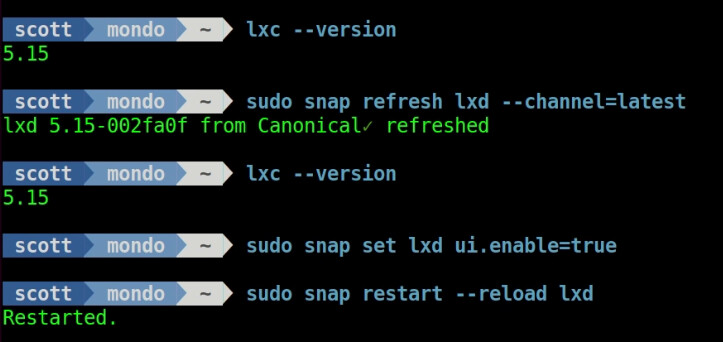
Find out which version of LXD that you are running:
```auto
lxc --version
```
If you are running a version older than v5.14, you will need to upgrade LXD. An upgrade will not affect your current containers.
```auto
sudo snap refresh lxd --channel=latest
```
As of August 2023, the latest version is v5.15.
```auto
lxc --version
```
To enable the LXD web UI:
```auto
sudo snap set lxd ui.enable=true
```
You must now restart LXD:
```auto
sudo snap restart --reload lxd
```
An alternate way to reload the LXD daemon.
```auto
sudo systemctl reload snap.lxd daemon
```
You must also be sure that the core address for the LXD server is set:
```auto
lxc config set core.https_address :8443
```
Now, in your web browser (preferably Chrome) navigate to the address of your LXD server at port 8443. In my case:
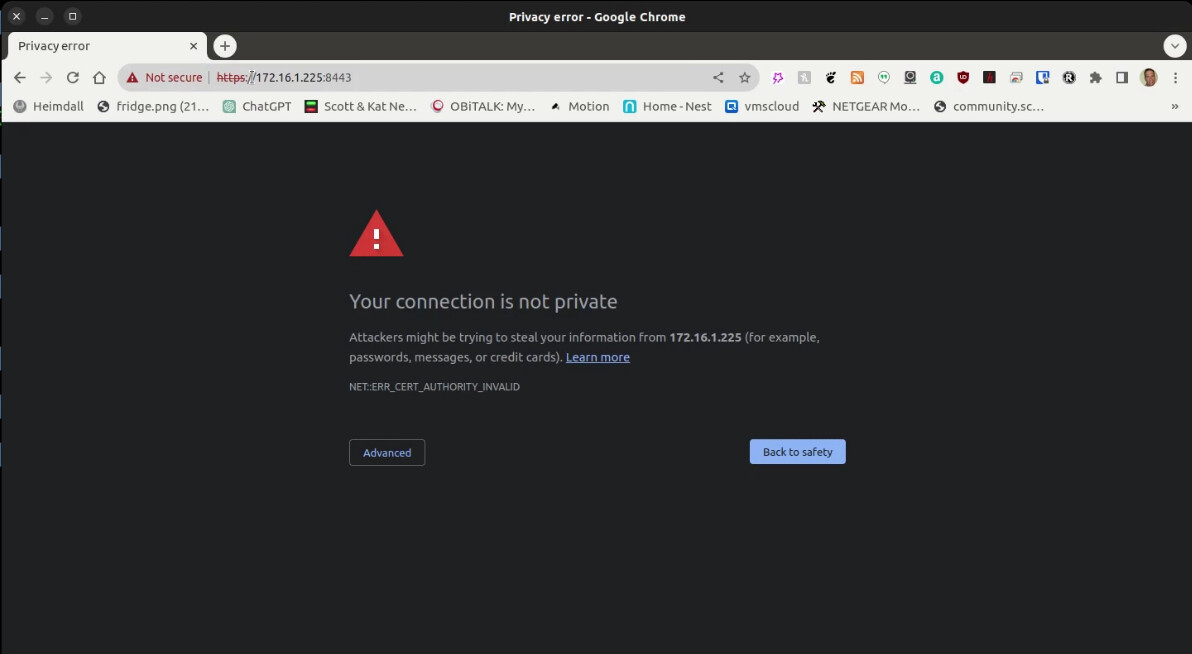
In the screen above, select “advanced” and then “Proceed to…” and you should see the following screen:
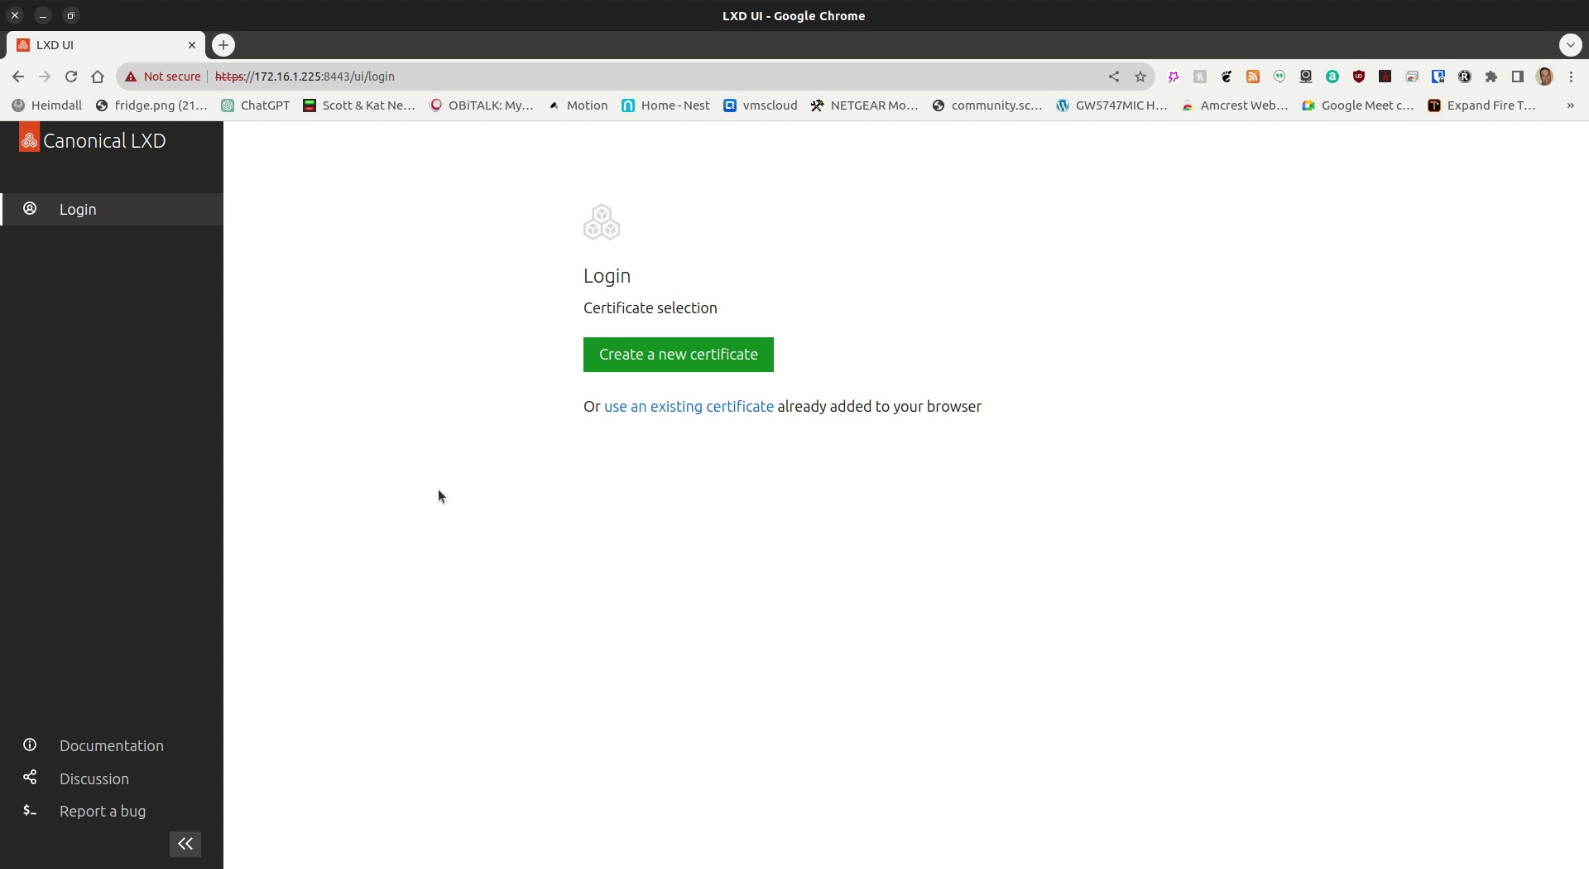
Select “Create a new certificate” from the screen above:
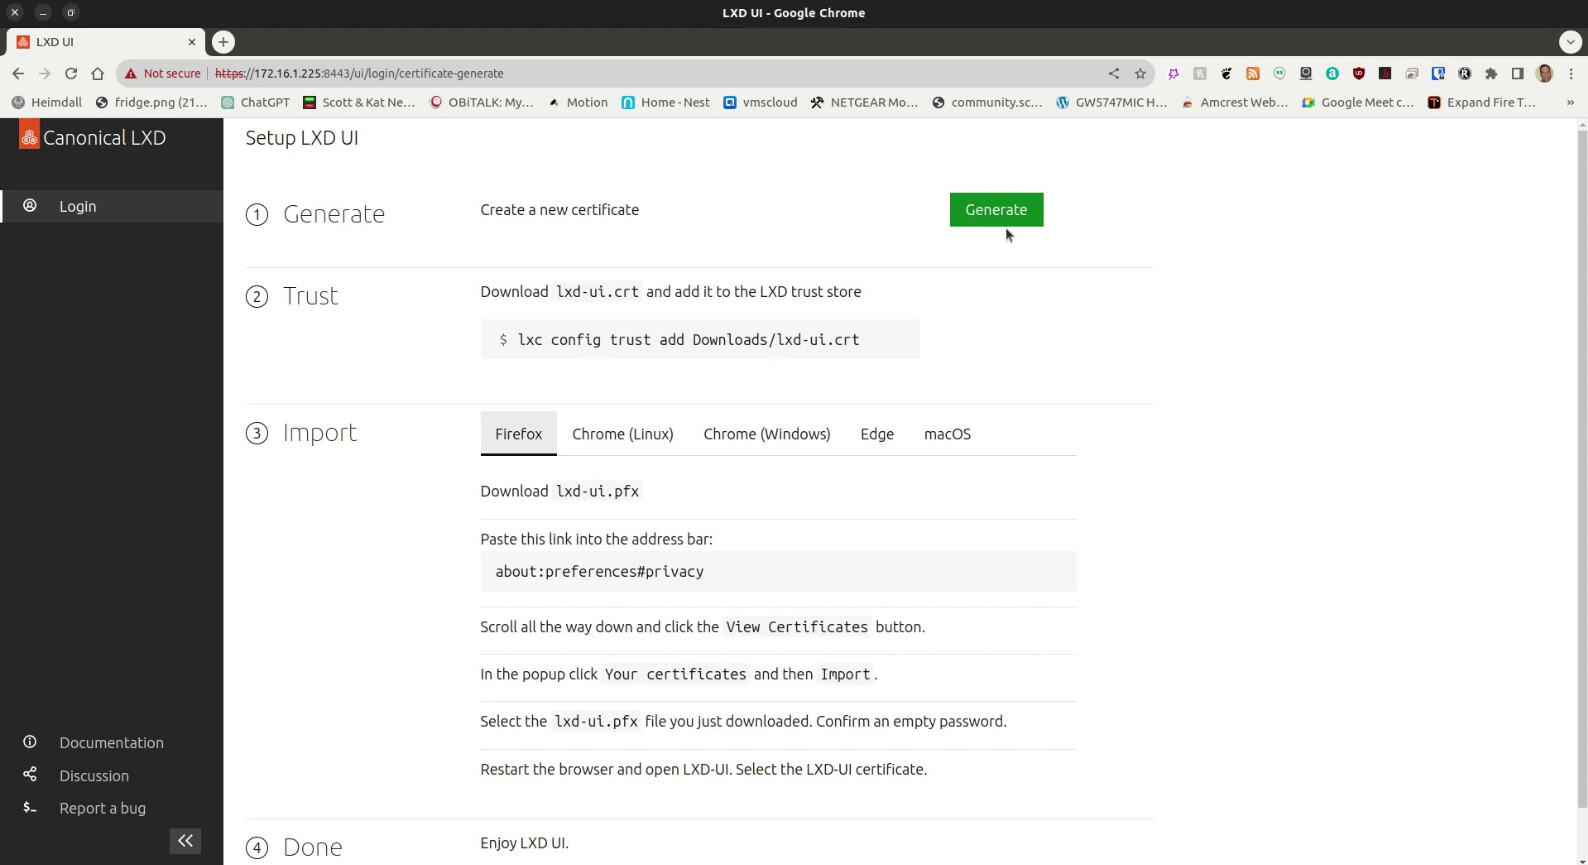
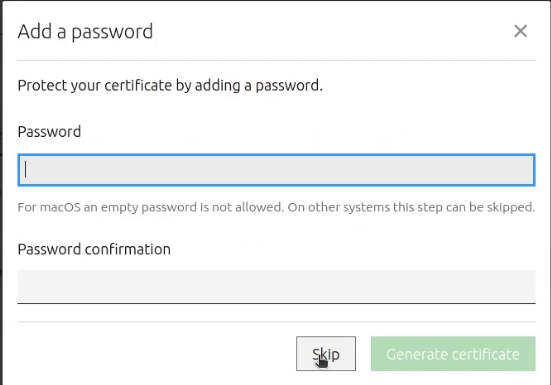
Click “Generate” to create a new certificate and you will get the following popup. You don’t really need a password, so you can click skip.
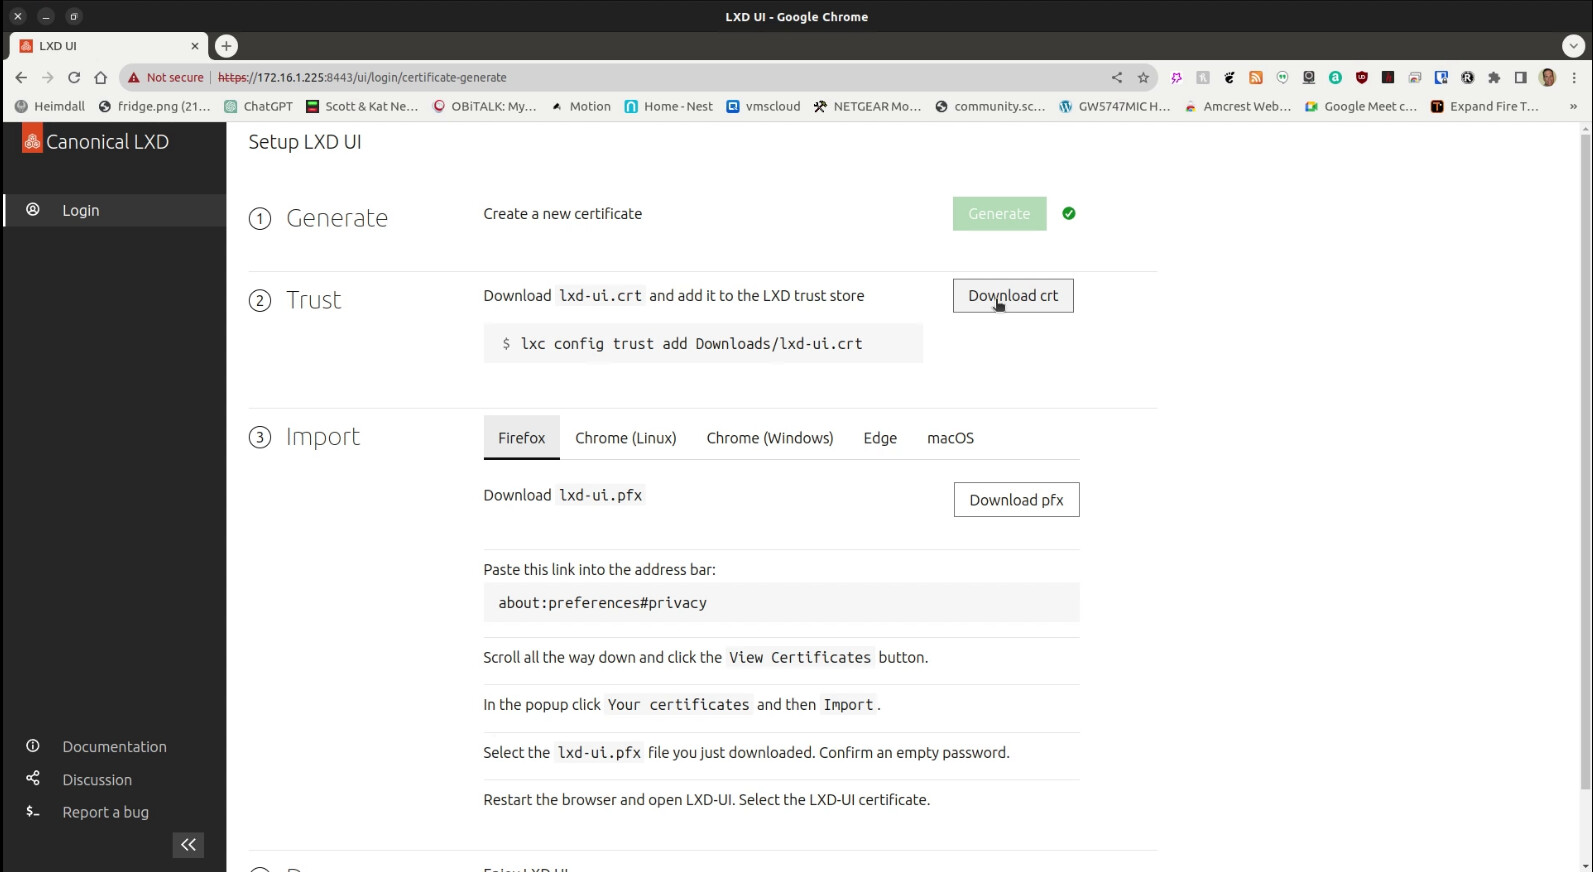
Next, click the option to download the certificate and it will be saved in your download folder.
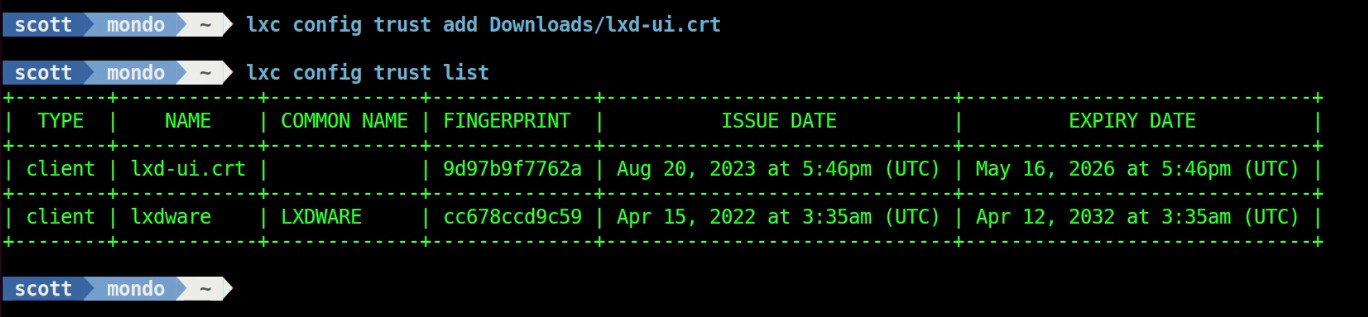
Open a terminal on your LXD server and execute the following command:
```auto
lxc config trust add Downloads/lxd-ui.crt
```
You can list the trust store on your LXD server:
```auto
lxc config trust list
```
Next, go back to your web browser and download the web browser certificate (lxd-ui.pfx) for the browser type that you are using:
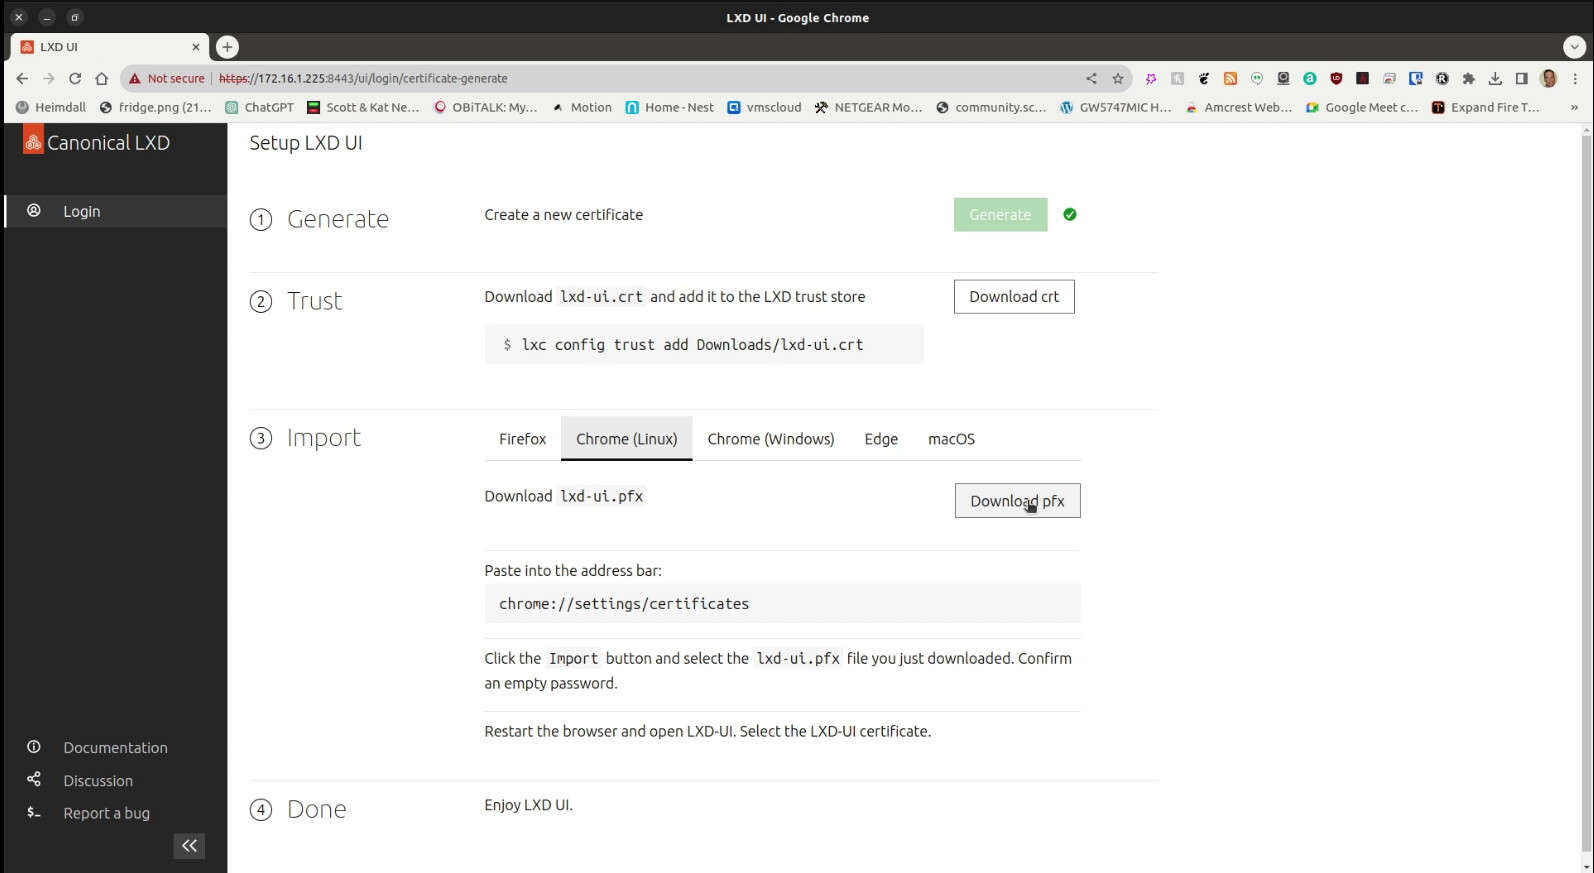
In chrome, open another tab to the certificates – settings screen:
```auto
chrome://settings/certificates
```
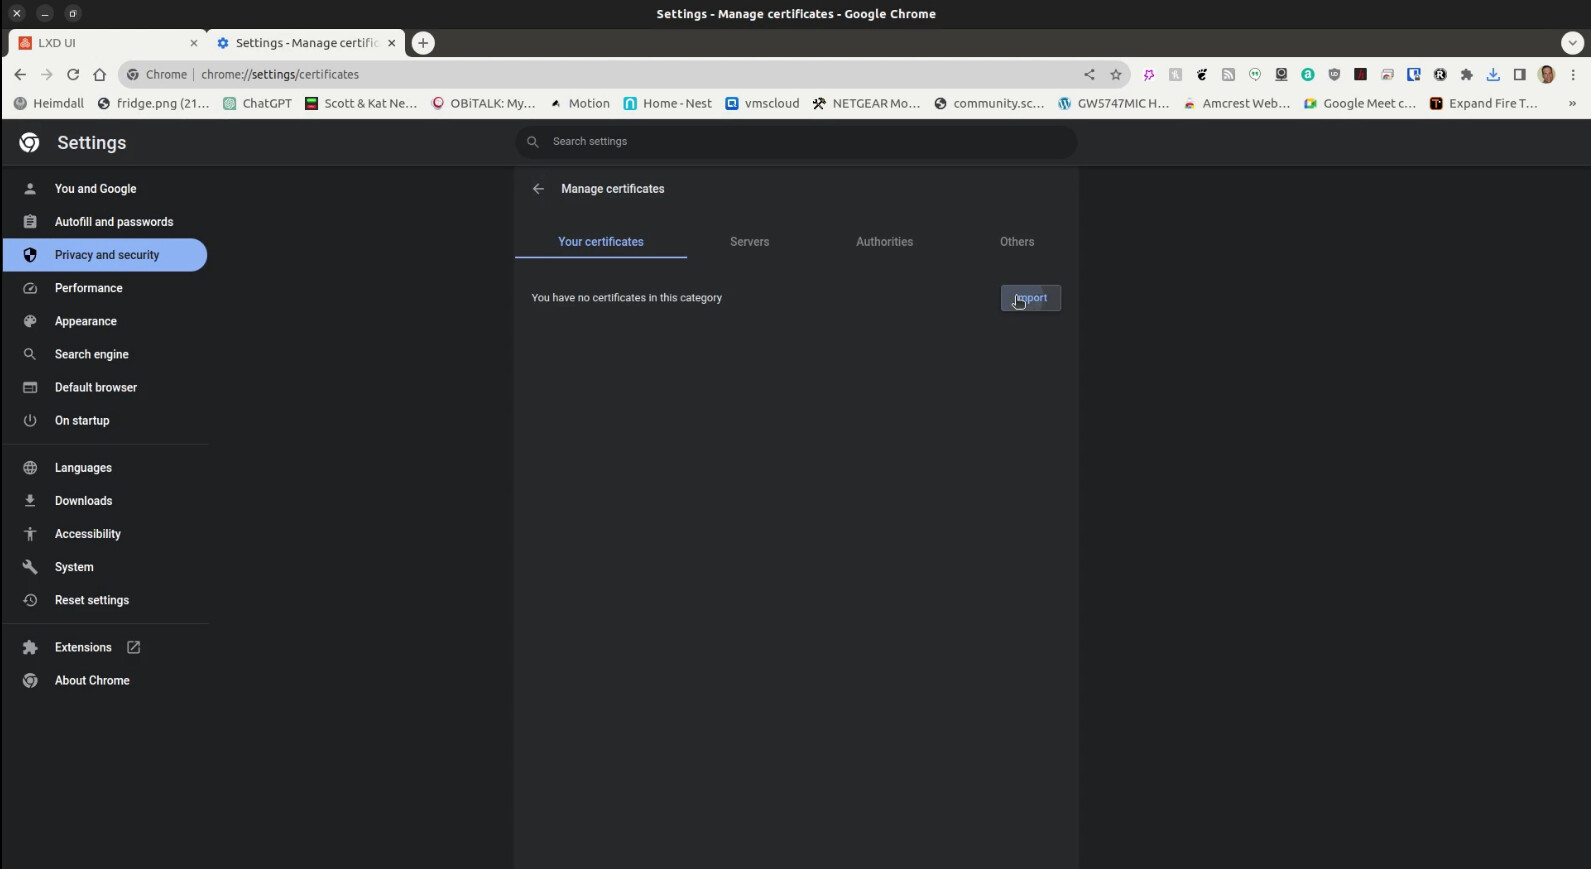
Click “import” on the screen above and select the pfx file:

Once the certificate is imported into the web browser, you can return to the LXD web UI tab and you may or may not have a popup prompt to dismiss. After that, you should see the LXD web UI and it should list all of your LXD container instances:
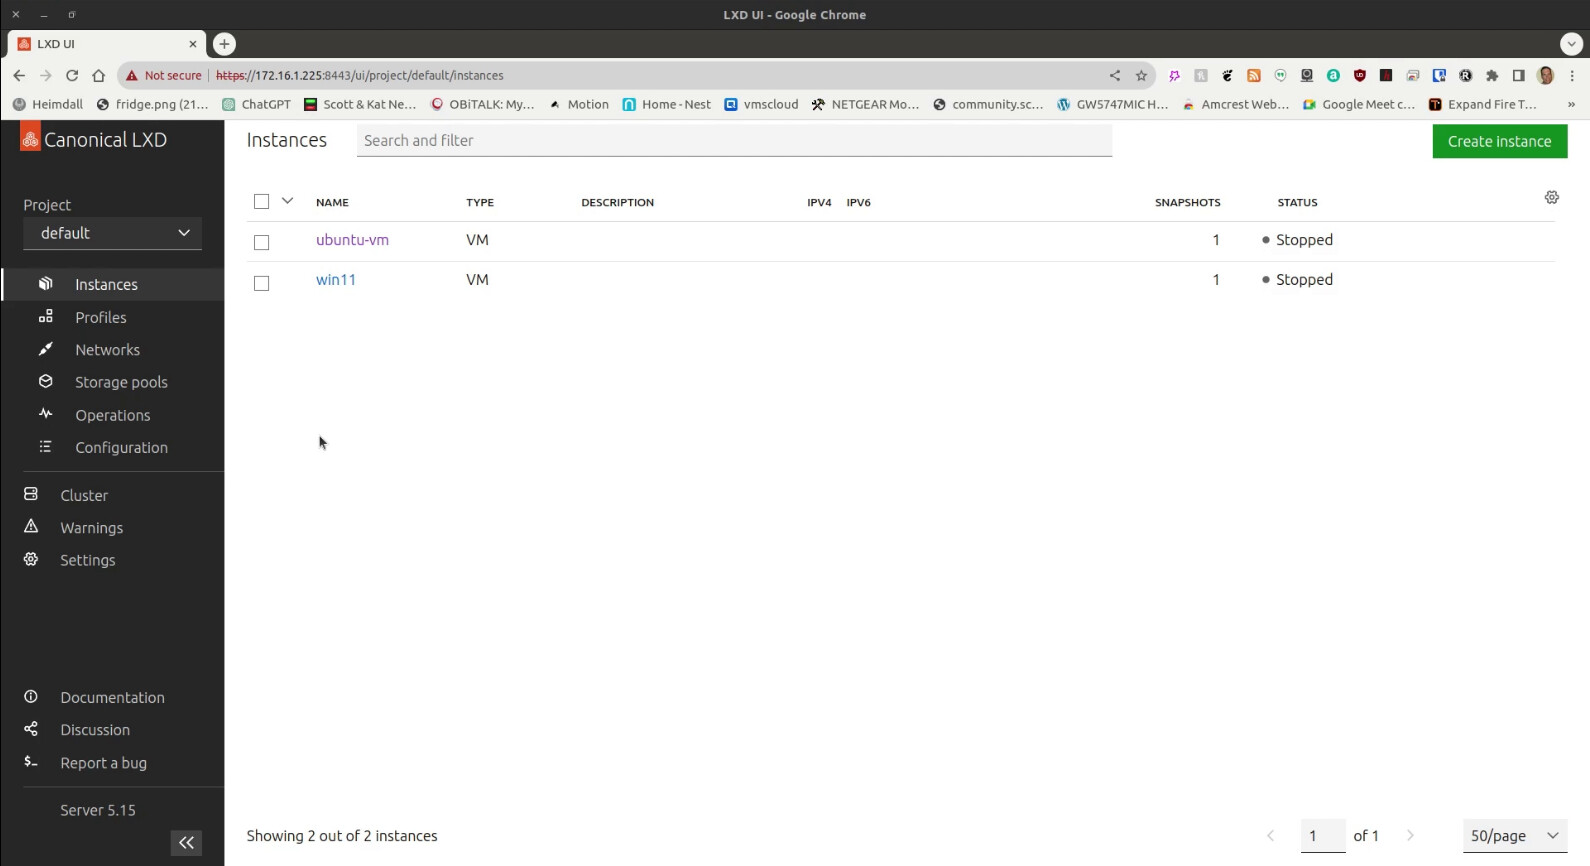
Your Canonical LXD web UI should now be completely operational.
To ask questions, come by [https://chat.scottibyte.com/](https://chat.scottibyte.com/).
---
### Author:  [@myusername](https://discussion.scottibyte.com/u/myusername)
#### Post date: [September 24, 2023, 7:05pm UTC](https://discussion.scottibyte.com/t/lxd-built-in-gui/270/2 "2023-09-24T19:05:12Z")
I had to completely restart my browser after importing the certificate in order for it to work.
---
### Author:  [@scott](https://discussion.scottibyte.com/u/scott)
#### Post date: [September 24, 2023, 7:13pm UTC](https://discussion.scottibyte.com/t/lxd-built-in-gui/270/3 "2023-09-24T19:13:26Z")
That could depend on the browser cookies. Remember that the LXD Web UI is also a very early release. It seems that LXDware LXD Dashboard is a much better option at this point in time.