# Convert LXD Server to Incus
**URL:** https://discussion.scottibyte.com/t/convert-lxd-server-to-incus/357
**Category:** Uncategorized
**Created:** [February 21, 2024, 9:23pm UTC](https://discussion.scottibyte.com/t/convert-lxd-server-to-incus/357 "2024-02-21T21:23:07Z")
**Posts on this page:** 1
**Showing post:** 1
### Author:  [@scott](https://discussion.scottibyte.com/u/scott)
#### Post date: [February 21, 2024, 9:23pm UTC](https://discussion.scottibyte.com/t/convert-lxd-server-to-incus/357/1 "2024-02-21T21:23:07Z")
If you have an existing LXD Server that you would like to convert to an Incus server, then this is the tutorial for you. Incus is the new open source fork of the LXD containerization tool as explained in my video “Incus: The New LXD”.
This video specifically takes an existing LXD server with LXD containers, LXD Virtual machines, LXD Profiles and LXD storage pools and converts it on the fly using an Incus utility called “lxd-to-incus”.
As of February 2024, this tool can convert a LXD 5.0, 5.18, 5.19 or 5.20 server to Incus. As the LXD and Incus forks become more diverse, there is no guarantee that this tool will work in later versions.
Understand that the GUI tool “LXD Dashboard” that I have presented many times on the channel does not support Incus servers and so after migration to Incus this tool will not work. Penning Labs, who developed LXD Dashboard, has a new tool called LXConsole which is a GUI that can manage both LXD and Incus Servers. Watch my video entitled “LXConsole: The New LXD Dashboard” to learn how to install this great utility.
Log into your LXD Server with ssh (substitute your IP address of your LXD server with n.n.n.n):
```auto
ssh n.n.n.n
```
List your containers and perhaps print a screenshot for your records:
```auto
lxc list
```
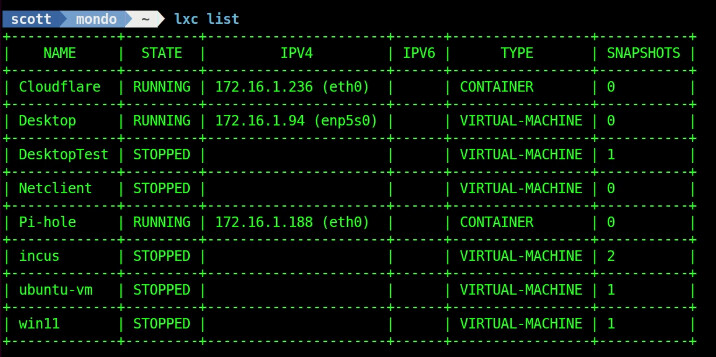
List your profiles on your lxd server:
```auto
lxc profile list
```
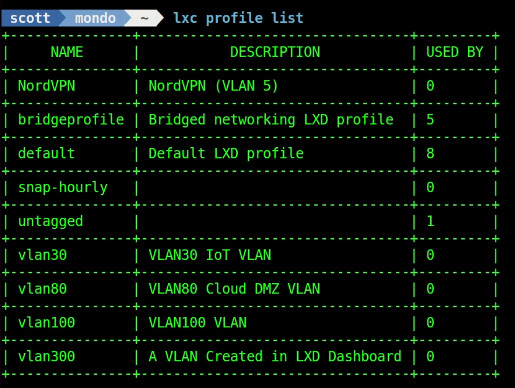
Finally, list your storage pools:
```auto
lxc storage list
```

Check to make sure you have a LXD Version between 5.0 - 5.20:
```auto
lxc --version
```

Install Incus without initializing the installation.
First, change to the root user.
```auto
sudo su
```
Make a folder to hold the installation key(s) (the -p creates the path only if it doesn’t exist):
```auto
mkdir -p /etc/apt/keyrings/
```
Download the Incus key to the folder we just created.
```auto
curl -fsSL https://pkgs.zabbly.com/key.asc -o /etc/apt/keyrings/zabbly.asc
```
Add the repository for Incus using the keys. Cut and paste the entire code segment into your terminal and press enter.
```auto
sh -c 'cat < /etc/apt/sources.list.d/zabbly-incus-stable.sources
Enabled: yes
Types: deb
URIs: https://pkgs.zabbly.com/incus/stable
Suites: $(. /etc/os-release && echo ${VERSION_CODENAME})
Components: main
Architectures: $(dpkg --print-architecture)
Signed-By: /etc/apt/keyrings/zabbly.asc
EOF'
```
Update the repositories and exit root.
```auto
apt update
exit
```
Install Incus and the zfs-utils package required for conversion:
```auto
sudo apt install incus zfsutils-linux -y
```
Put your user into the incus admin group and verify:
```auto
sudo usermod -aG incus-admin scott
newgrp incus-admin
groups
```
Now we are ready to convert the LXD Server to an Incus Server with the following command:
```auto
sudo lxd-to-incus
```
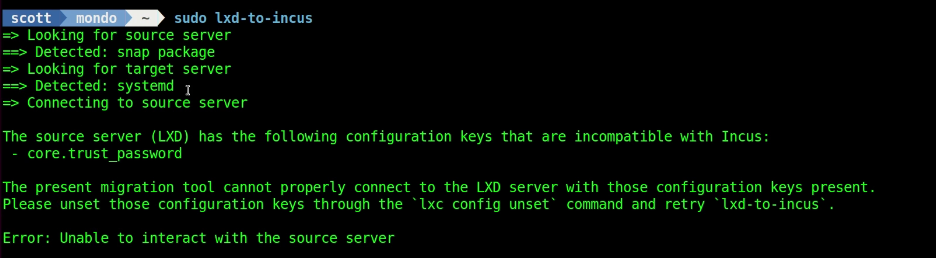
In my video, the command above failed and I needed to issue the following command to remove the unsupported core.trust\_password mentioned:
```auto
lxc config unset core.trust_password
```
Now I am able to run the conversion:
```auto
sudo lxd-to-incus
```
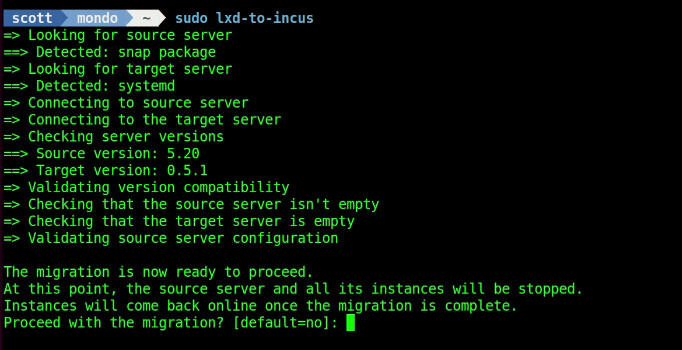
I answer “yes” to the prompt above.
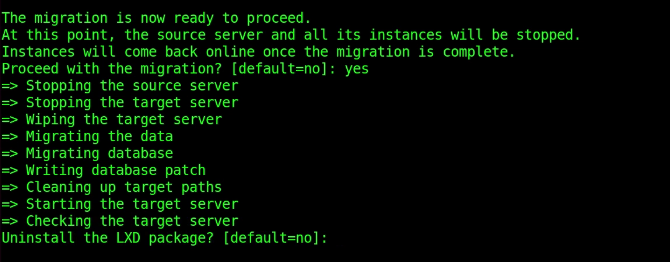
I also answer “yes” to uninstall LXD in the prompt above.

The conversion is now complete. We can now list the Incus containers and we see that all of the LXD containers are now Incus containers.
```auto
incus list
```
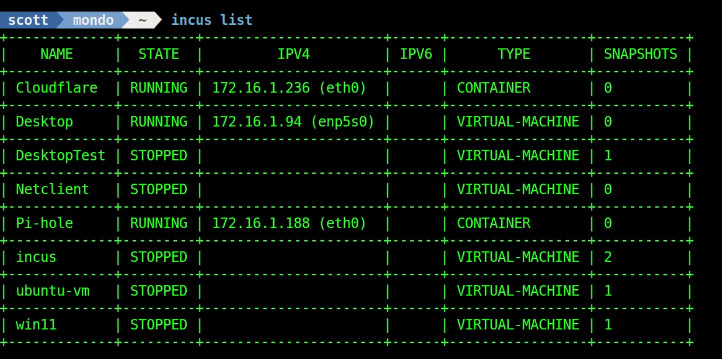
We can list the profiles.
```auto
incus profile list
```
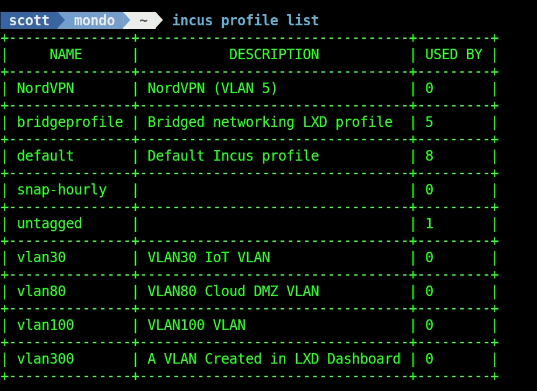
Finally, we can list the storage pool.
```auto
incus storage list
```

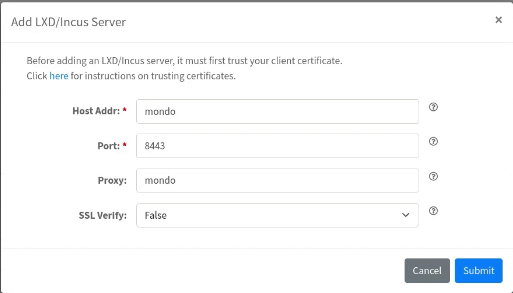
In the tutorial, I demonstrated that LXD Dashboard can no longer see or manage your containers because they are in Incus. Assuming you installed LXConsole via my video entitled “LXConsole: The New LXD Dashboard”, the following steps show how I added my “mondo” Incus server to LXConsole since LXConsole can manage both LXD and Incus servers.
LXD Dashboard no longer sees mondo because it is not running LXD:
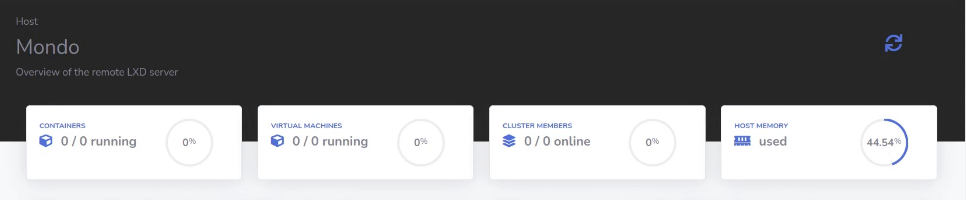
In LXConsole, I choose the “+Server” option to add the mondo Incus server.
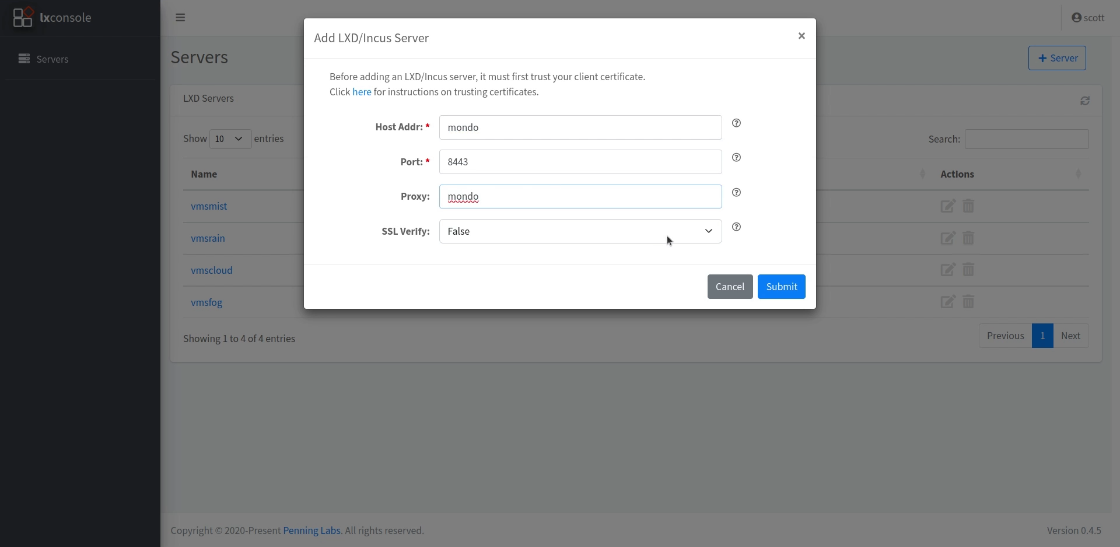
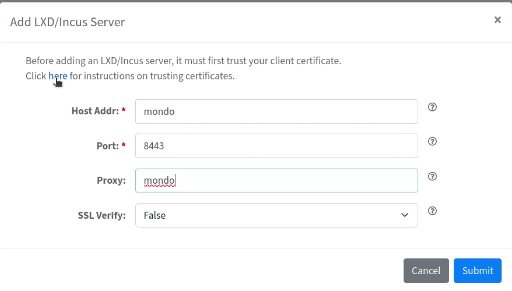
Click on “here” in the previous screenshot which is highlighted in blue.
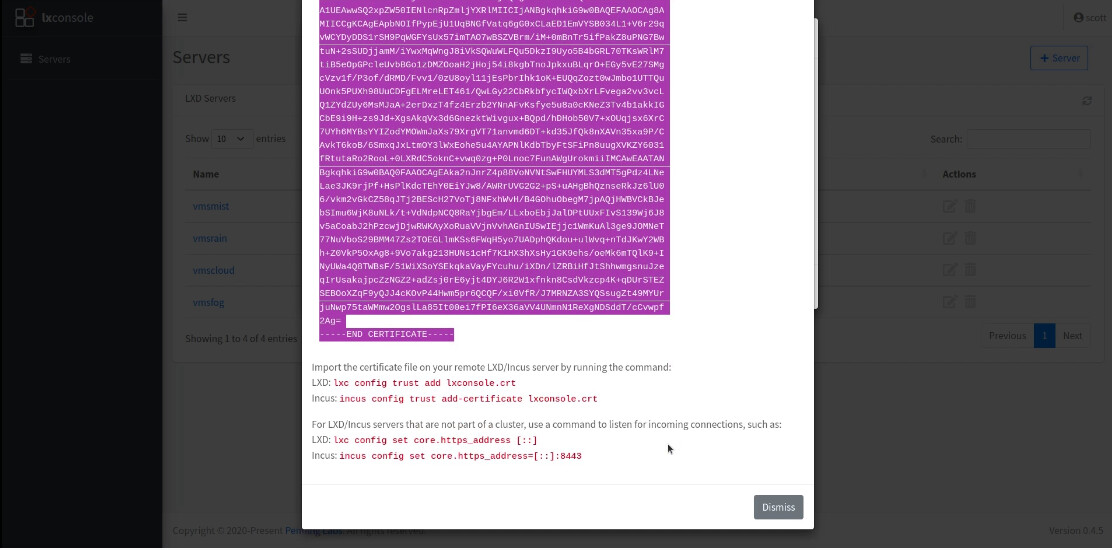
Select and copy the certificate from the page that is displayed being sure to get the Begin and End certificate lines as well.
Go back to the terminal on your Incus Server and edit a file to hold the certificate:
```auto
nano lxconsole.crt
```
Insert the contents of your cut buffer into the nano editor with Shift CTRL V. Do a CTRL O and Enter to write the file out and a CTRL X to exit the nano editor.
Perform the following two commands at the terminal to authorize the ceritifcate on the Incus server and allow access from lxconsole:
```auto
incus config trust add-certificate lxconsole.crt
incus config set core.https_address=[::]:8443
```
Click the “Dismiss” button on the web page as shown below:
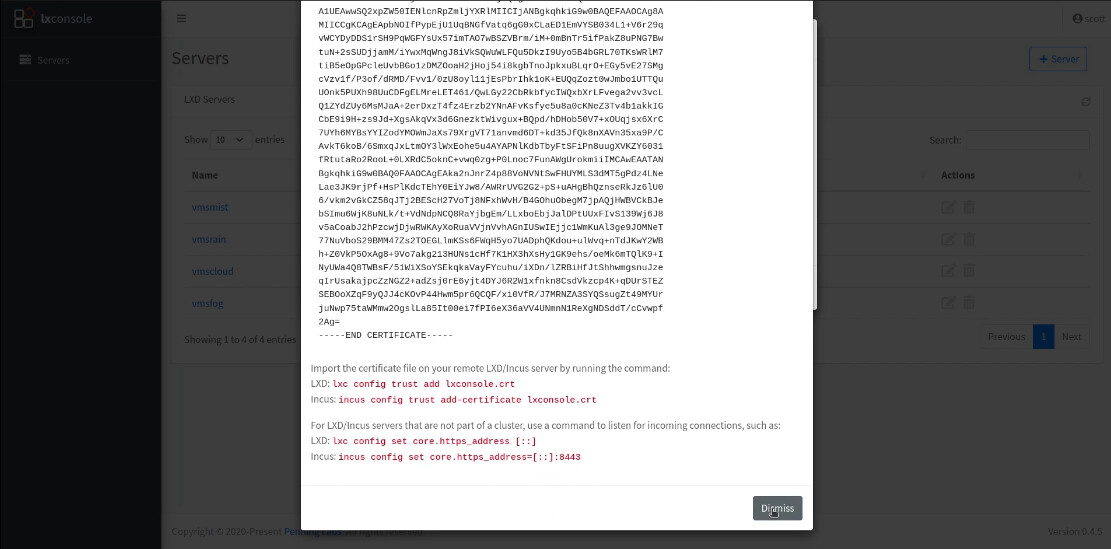
Back on the “Add LXD/Incus Server” screen, click submit to now add the server as one that can be managed.
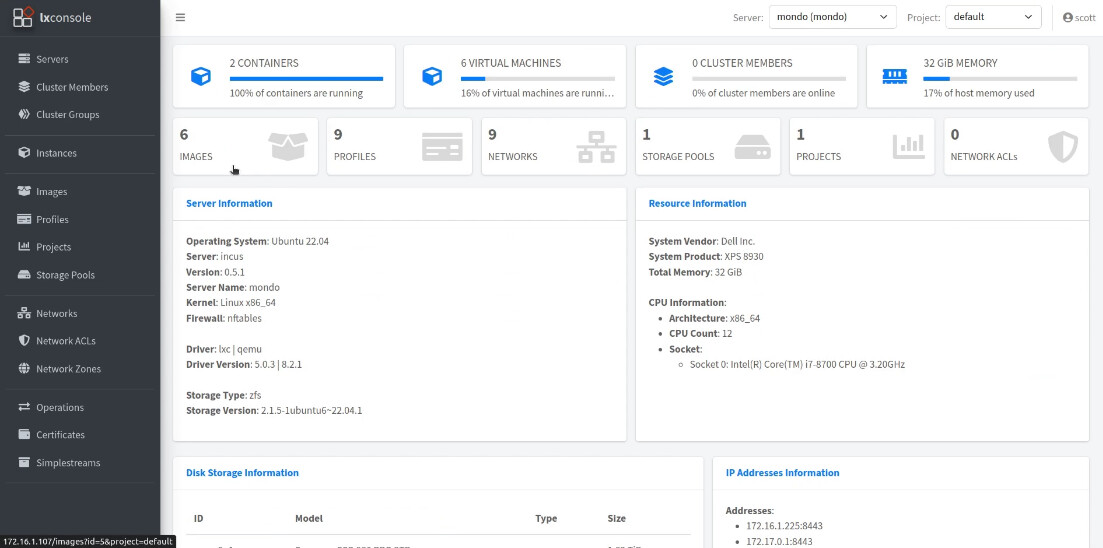
Now I am able to click “mondo” from the server page in LXConsole and I can see all of my Incus containers and manage them.
Enjoy your new Incus Server!
---
_[View the full topic](https://discussion.scottibyte.com/t/convert-lxd-server-to-incus/357)._